Pretty as a Picture: How ‘My Vibe’ Influences Beauty and Self-Care Routines

Picture this: you wake up in the morning, feeling refreshed and ready to take on the day. As you go through your beauty and self-care routine, you can’t help but notice a certain glow about you. Your skin looks radiant, your hair is shiny, and your confidence is through the roof. What’s the secret behind this picture-perfect beauty? It’s all about finding and embracing your own unique vibe.

Discovering Your Vibe

Your vibe is more than just a mood or a feeling. It’s the essence of who you are, radiating from within and influencing every aspect of your life, including your beauty and self-care routines. Discovering your vibe is about understanding and embracing your individuality, and letting it shine through in everything you do.

When it comes to beauty and self-care, your vibe is the driving force behind the choices you make. From the products you use to the rituals you incorporate into your routine, everything is a reflection of your unique personality and style.

So how do you discover your vibe? It starts with self-reflection. Take some time to think about what makes you feel truly happy and confident. What are your passions, interests, and values? Once you have a clear understanding of who you are, you can start aligning your beauty and self-care routines with your vibe.

Remember, your vibe is not about conforming to societal standards of beauty. It’s about embracing and celebrating your own individuality. When you feel good on the inside, it will radiate on the outside.

The Power of Skincare

Skincare is an essential part of any beauty and self-care routine. It’s not just about looking good; it’s about feeling good in your own skin. Your skincare routine should be tailored to your specific needs and preferences, in line with your vibe.

For some, a minimalist approach to skincare may be the perfect fit. A few high-quality products that nourish and protect the skin, combined with a healthy lifestyle, can work wonders. Others may prefer a more elaborate routine, with multiple steps and a variety of products.

Regardless of the approach you choose, the key is to listen to your skin and give it what it needs. Pay attention to how your skin reacts to different products and adjust your routine accordingly. Your vibe will guide you in making the right choices for your skin.

Remember, skincare is not a one-size-fits-all solution. What works for one person may not work for another. Embrace your vibe and find the skincare routine that makes you feel your best.

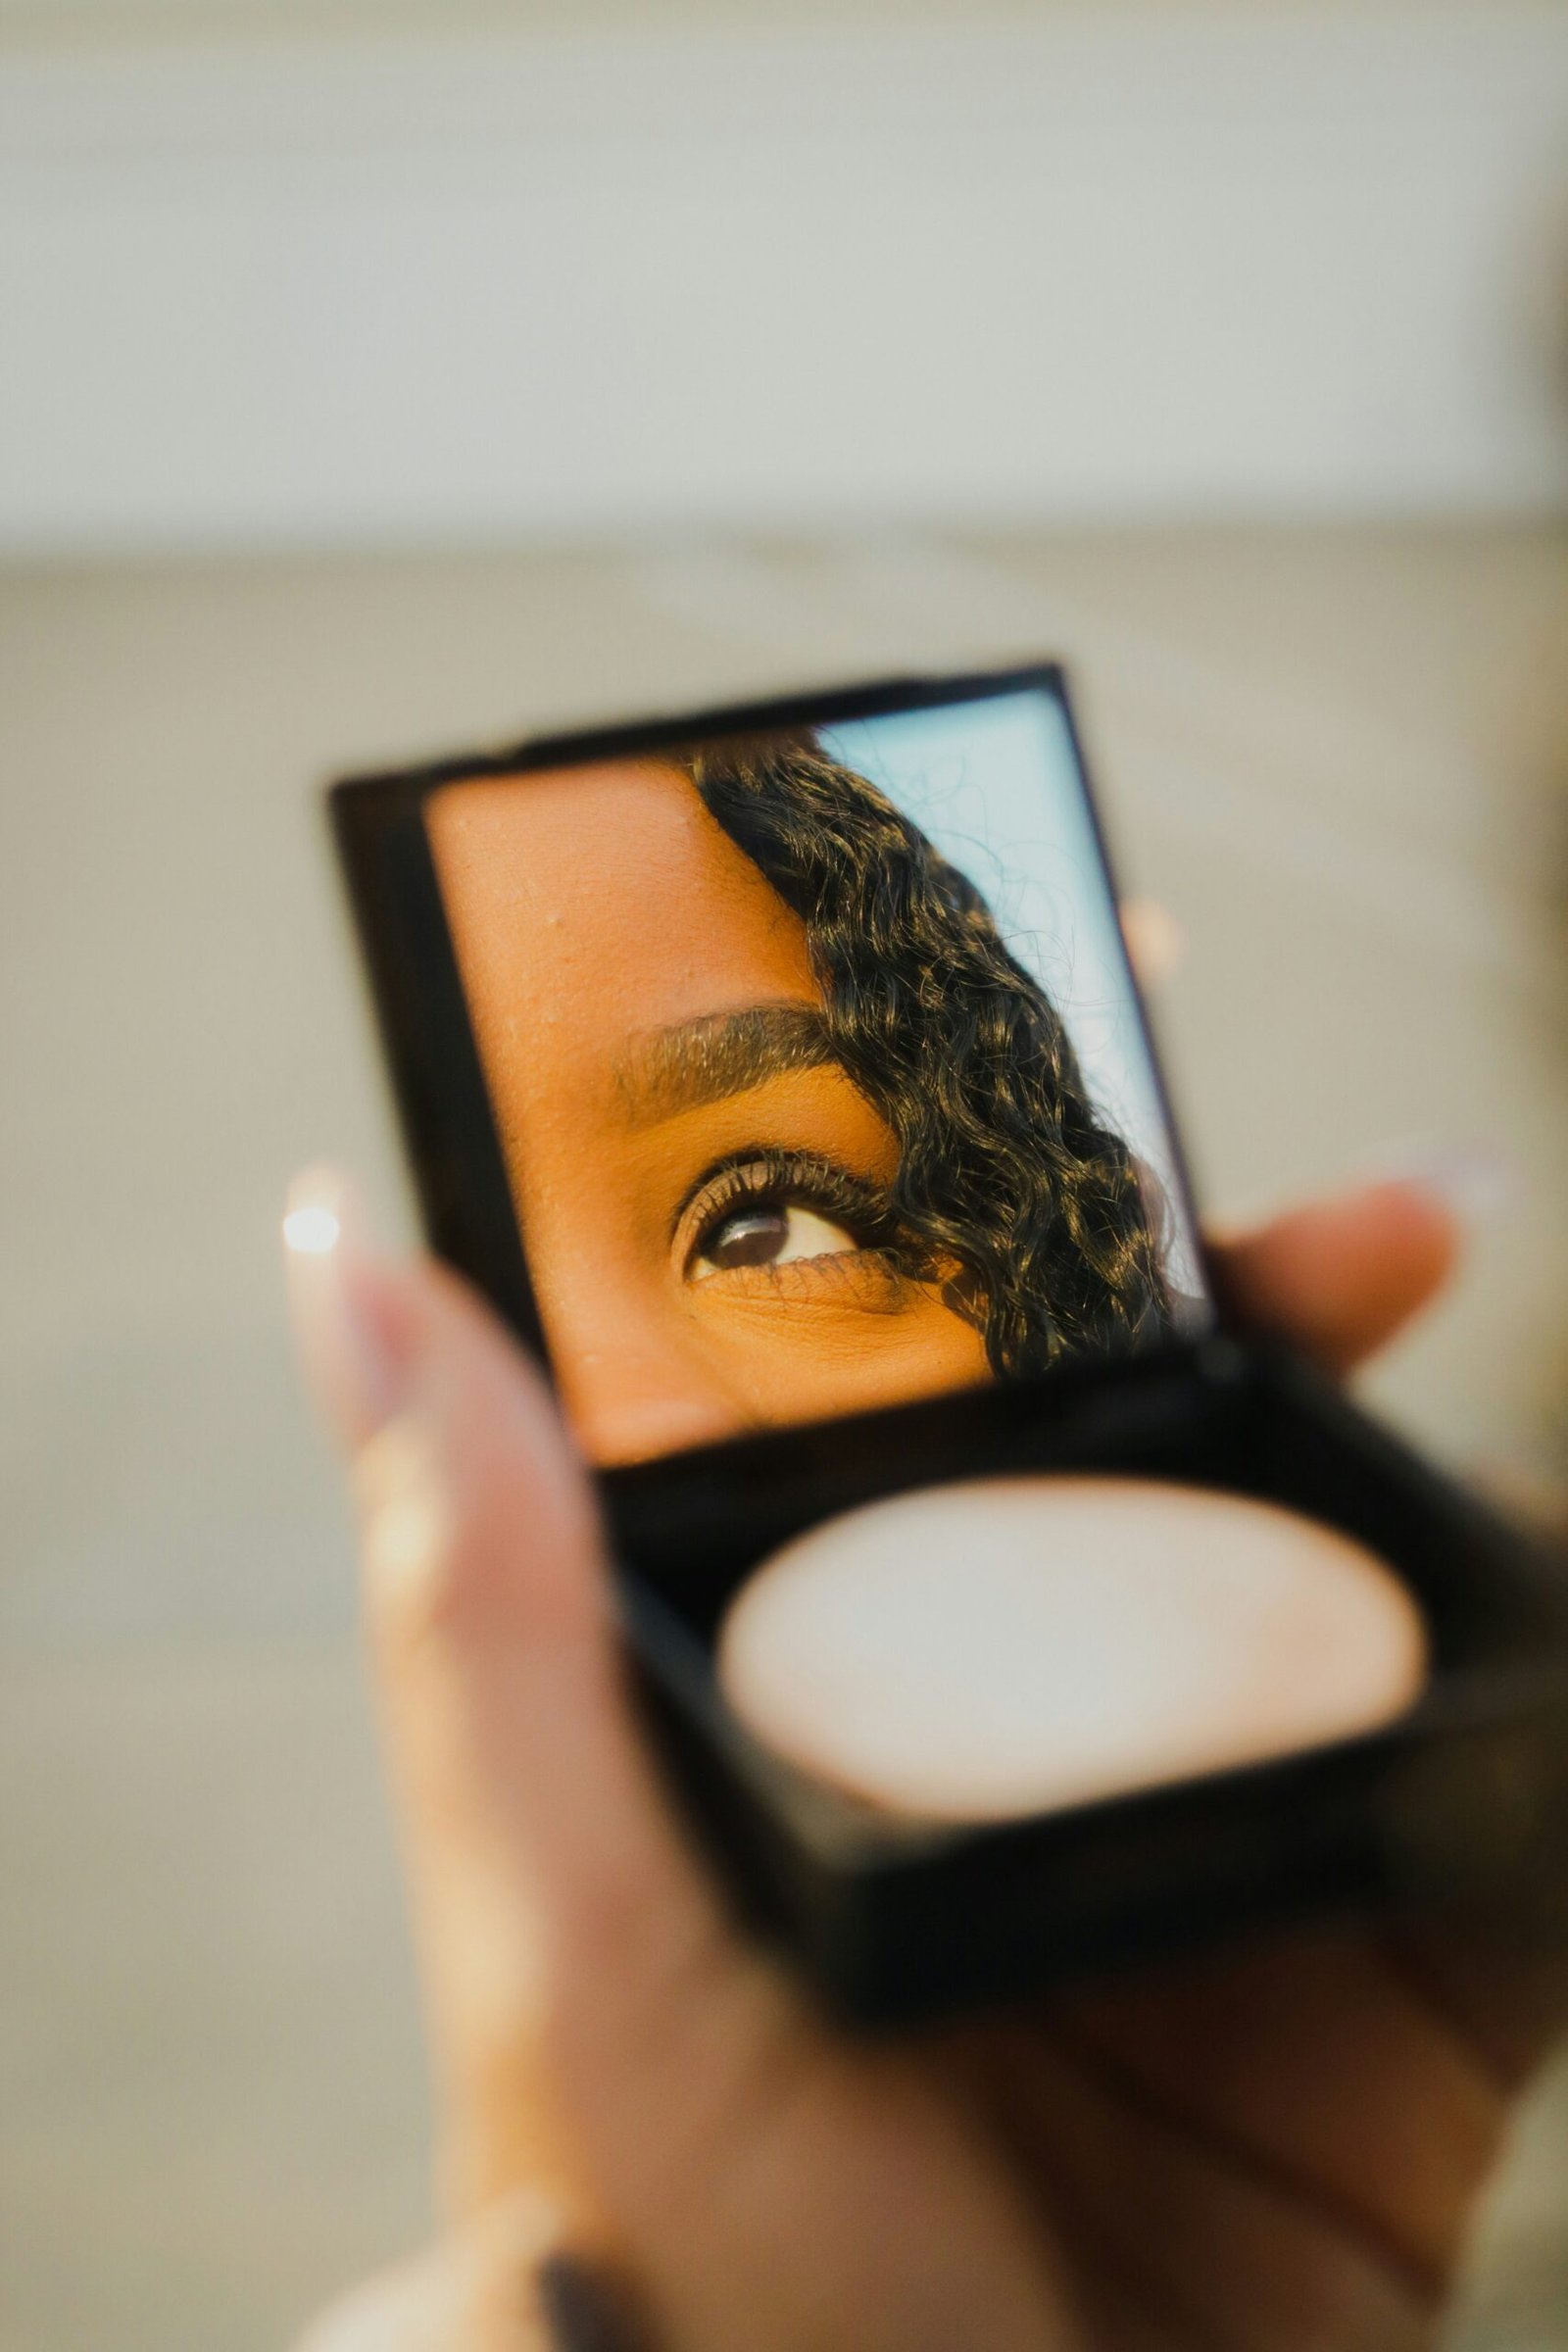
Makeup That Matches Your Vibe

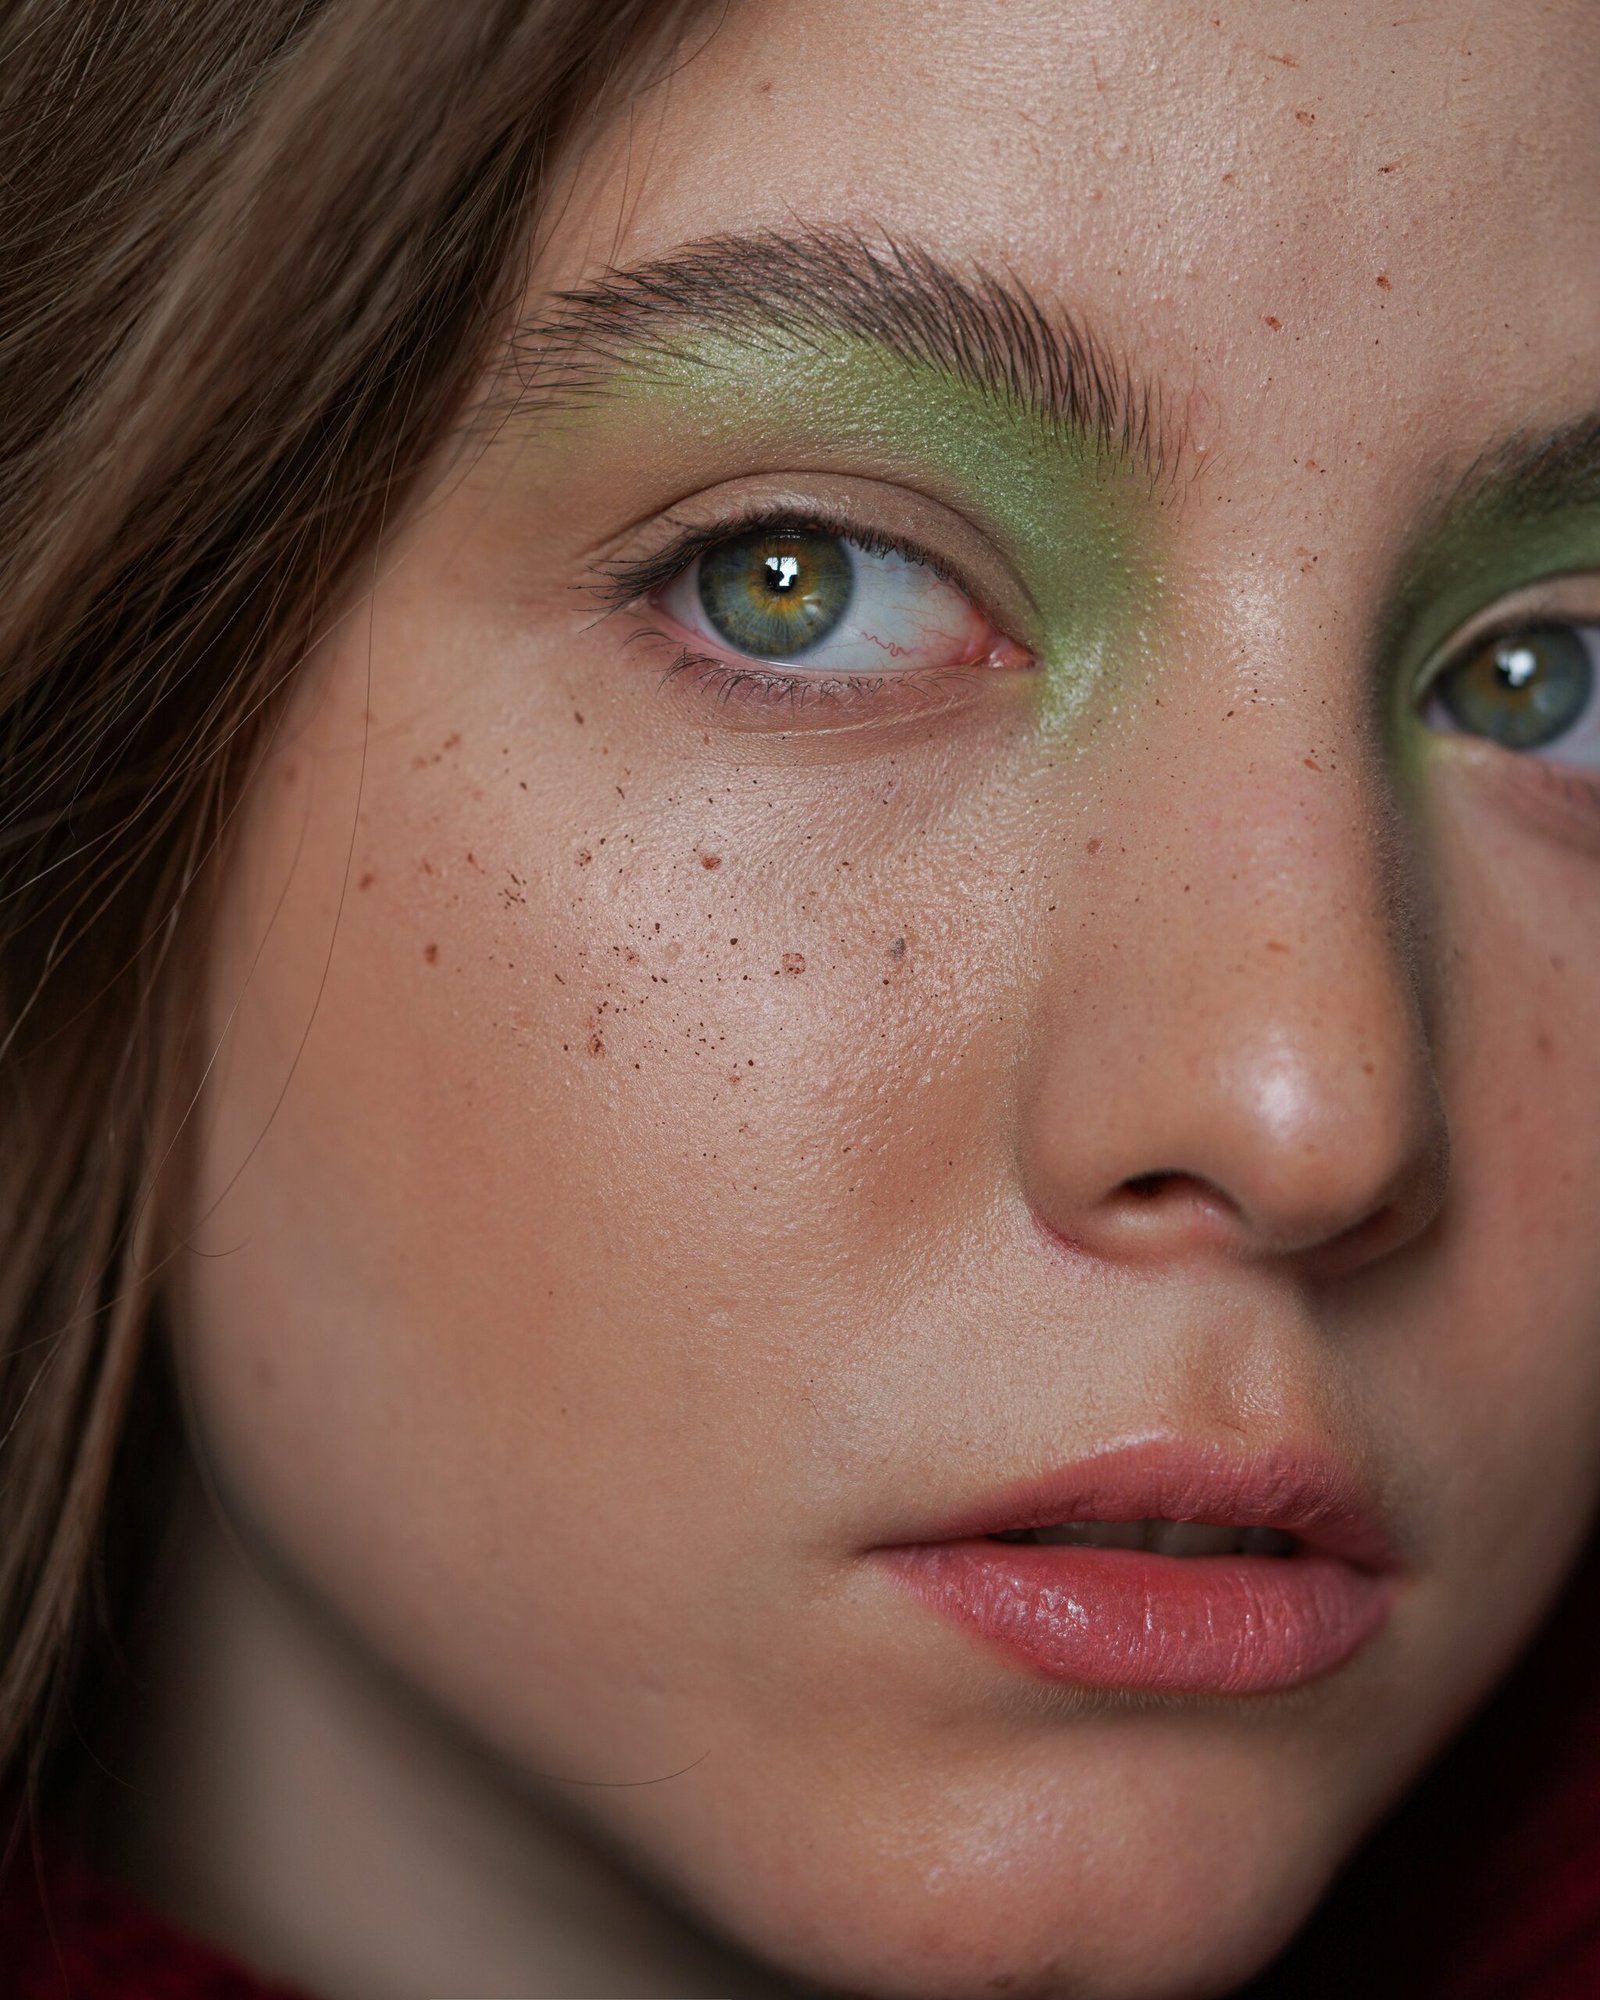
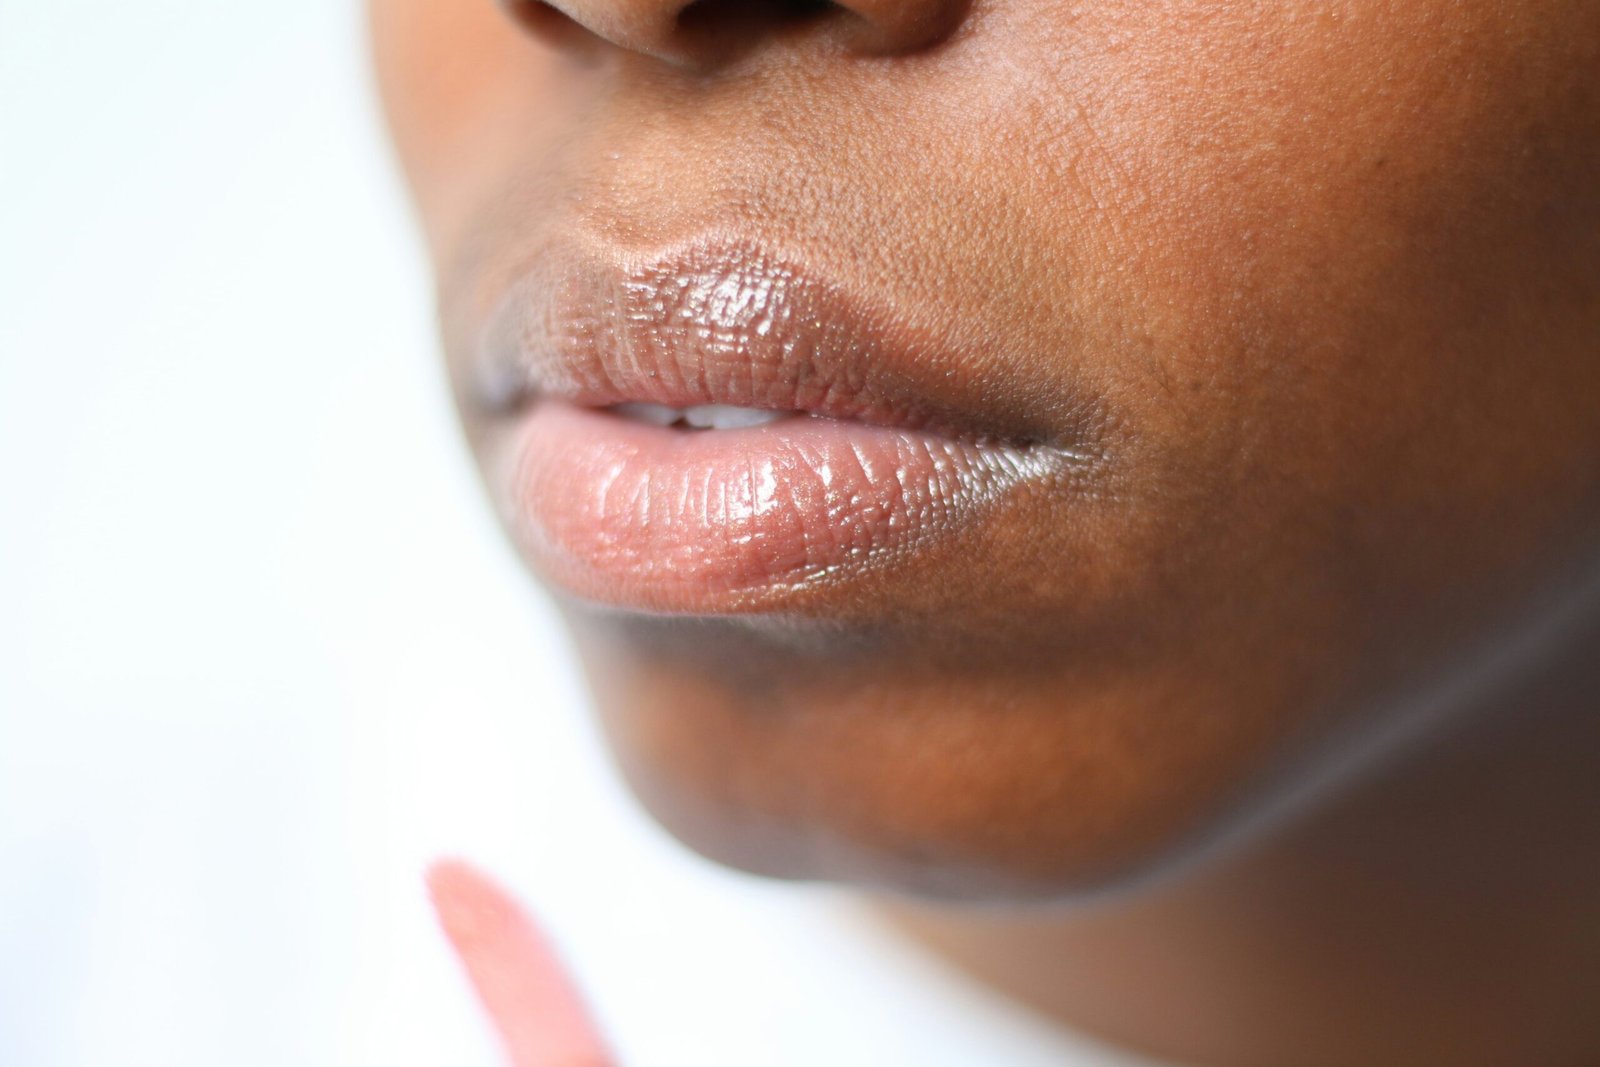
Makeup is a powerful tool for self-expression. It allows you to enhance your natural beauty and create different looks that reflect your vibe. Whether you prefer a natural, no-makeup look or a bold and dramatic style, your makeup choices should align with your vibe.

When it comes to choosing makeup products, consider the ingredients, the brand’s values, and the overall aesthetic. Look for products that are cruelty-free, vegan, or made with sustainable ingredients, if those are important to you. Experiment with different colors and textures to find the ones that make you feel confident and beautiful.

Remember, makeup is not about covering up or hiding who you are. It’s about enhancing your features and expressing your unique personality. Embrace your vibe and let your makeup reflect the real you.

Haircare for Your Vibe

Your hair is your crowning glory, and taking care of it is an important part of your beauty and self-care routine. Just like skincare and makeup, your haircare routine should be tailored to your vibe.

Start by understanding your hair type and its specific needs. Is your hair dry, oily, or somewhere in between? Does it need extra hydration or volume? Once you have a clear understanding of your hair’s needs, you can choose the right products and treatments.

Consider your vibe when choosing a hairstyle. Are you a low-maintenance, wash-and-go kind of person? Or do you love experimenting with different styles and colors? Your hairstyle should be a reflection of your vibe and make you feel confident and beautiful.

Remember, your hair is an extension of your personality. Embrace your vibe and let your hair reflect who you truly are.

Nurturing Your Inner Beauty

While beauty and self-care routines are important for enhancing your physical appearance, nurturing your inner beauty is just as crucial. Your vibe is not just about how you look; it’s about how you feel on the inside.

Take time for self-care activities that align with your vibe. This could be anything from meditation and yoga to journaling or spending time in nature. Find what brings you joy and peace, and incorporate it into your daily routine.

Surround yourself with positive influences that uplift and inspire you. This could be through books, podcasts, or connecting with like-minded individuals. Your vibe is influenced by the energy you surround yourself with, so choose wisely.

Remember, true beauty comes from within. Nurture your inner beauty and let it radiate through your vibe.

Embracing Change and Evolution

Your vibe is not set in stone. It’s a reflection of who you are in this moment, but it can evolve and change over time. Embrace the journey of self-discovery and allow your vibe to grow with you.

As you go through different stages of life, your beauty and self-care routines may also change. What worked for you in the past may no longer resonate with your current vibe. Be open to trying new things and exploring different approaches.

Remember, beauty is not about perfection; it’s about authenticity. Embrace your ever-changing vibe and let it guide you on the path of self-expression and self-care.

Conclusion

Beauty and self-care are not just about following trends or conforming to societal standards. They are about embracing and celebrating your own unique vibe. When you align your beauty and self-care routines with your vibe, you not only look good, but you also feel good from the inside out.

Discovering your vibe is a journey of self-reflection and self-discovery. It’s about understanding and embracing your individuality, and letting it shine through in everything you do. From skincare to makeup to haircare, your vibe should guide your choices and make you feel confident and beautiful.

Remember, your vibe is not about fitting into a mold; it’s about breaking free from it. Embrace your uniqueness and let your vibe be the guiding force behind your beauty and self-care routines. Pretty as a picture, indeed.

7 Gorgeous Hairstyles for Long Faces

A long face shape is characterized by having a lengthier vertical dimension compared to its width. If you have a long face shape, you may want to choose hairstyles that help balance out your features and add width to your face. In this article, we will explore seven gorgeous hairstyles that are perfect for long faces. Whether you prefer short or long hair, there is a hairstyle that will flatter your face shape and enhance your natural beauty.

1. Blunt Bob

A blunt bob is a timeless hairstyle that works well for long faces. This hairstyle features a straight, one-length cut that ends around the jawline. The blunt ends create the illusion of width, making your face appear more balanced. You can choose to add bangs or keep the style without them, depending on your personal preference. The blunt bob is a chic and versatile option that can be styled sleek and straight or with textured waves.

When opting for a blunt bob, consider incorporating layers to add movement and volume to your hair. This will prevent the style from looking too heavy and further enhance the illusion of width. Additionally, adding highlights or lowlights can create dimension and make your hair appear fuller.

2. Side-Swept Bangs

Side-swept bangs are a great choice for long faces as they help to shorten the length of the face and create the illusion of width. This hairstyle involves sweeping the bangs to one side, covering a portion of the forehead. The asymmetrical nature of side-swept bangs helps to break up the vertical line of a long face shape.

When styling side-swept bangs, you can choose to wear them straight or add some texture with waves or curls. This versatile hairstyle can be paired with various lengths, from short pixie cuts to long flowing locks. Experiment with different lengths and angles to find the perfect side-swept bangs that flatter your features.

3. Layered Waves

Layered waves are a beautiful option for long faces as they add volume and movement to the hair, balancing out the length of the face. This hairstyle involves adding layers throughout the hair, creating texture and dimension. The waves further enhance the illusion of width, making the face appear more proportionate.

To achieve layered waves, you can use a curling iron or hot rollers to create loose, natural-looking waves. Alternatively, you can braid your damp hair overnight and unravel the braids in the morning for effortless beachy waves. Adding a texturizing spray or mousse can help enhance the waves and give your hair a voluminous look.

4. Long Layers with Face-Framing Highlights

If you have long hair and a long face shape, consider opting for long layers with face-framing highlights. This hairstyle involves adding layers throughout the length of the hair, creating movement and dimension. The face-framing highlights draw attention to the lower portion of the face, balancing out the length.

When choosing face-framing highlights, opt for shades that complement your skin tone and natural hair color. This will create a seamless and natural look. The combination of long layers and face-framing highlights adds depth and dimension to your hair, making it appear fuller and more voluminous.

5. High Ponytail

A high ponytail is a simple yet elegant hairstyle that can complement a long face shape. This hairstyle involves gathering your hair at the crown of your head and securing it with a hair tie. The height of the ponytail helps to create the illusion of added length to the face.

You can choose to keep the ponytail sleek and polished or add some texture by teasing the hair at the crown for a voluminous look. To further enhance the hairstyle, you can wrap a small section of hair around the hair tie to conceal it and create a more polished finish. The high ponytail is a versatile option that can be worn for both casual and formal occasions.

6. Wispy Fringe

A wispy fringe, also known as a curtain fringe, is a great choice for long faces as it helps to break up the length and add width to the forehead area. This hairstyle involves cutting the bangs in a way that they are longer at the sides and gradually get shorter towards the center. The wispy nature of the fringe softens the facial features and creates a more balanced look.

When styling a wispy fringe, you can choose to wear it straight or add some texture with waves or curls. This versatile hairstyle can be paired with various lengths, from short bobs to long layers. Experiment with different lengths and angles to find the perfect wispy fringe that suits your face shape and personal style.

7. Half-Up Half-Down

The half-up half-down hairstyle is a classic choice that works well for long faces. This hairstyle involves gathering the top half of your hair and securing it with a hair tie or clip, while leaving the remaining hair down. The half-up portion adds volume to the crown area, creating the illusion of width.

You can choose to keep the half-up portion sleek and smooth or add some texture by teasing the hair for a more voluminous look. To further enhance the hairstyle, you can add braids or twists to the half-up section. The half-up half-down hairstyle is versatile and can be dressed up or down depending on the occasion.

When choosing a hairstyle for a long face shape, it’s important to consider your personal style and preferences. Experiment with different lengths, textures, and styles to find the perfect hairstyle that enhances your natural beauty and boosts your confidence. Remember, the most important thing is to feel comfortable and confident in your chosen hairstyle.

How to Get Rid of Pimples

Pimples, also known as acne, can be a frustrating and confidence-damaging skin condition that affects people of all ages. Whether you’re dealing with occasional breakouts or chronic acne, finding effective ways to get rid of pimples is a common goal. In this comprehensive guide, we will explore various methods and remedies to help you achieve clear and healthy skin.

Understanding Pimples

Before diving into the solutions, it’s important to understand what causes pimples. Pimples occur when hair follicles become clogged with oil, dead skin cells, and bacteria. Hormonal changes, stress, diet, and certain medications can contribute to the development of pimples. Now, let’s explore some effective strategies to combat pimples and achieve a clear complexion.

1. Maintain a Consistent Skincare Routine

Establishing a regular skincare routine is crucial for preventing and treating pimples. Start by cleansing your face twice a day with a gentle cleanser that suits your skin type. Avoid harsh scrubbing, as it can irritate the skin and worsen acne. After cleansing, apply a non-comedogenic moisturizer to keep your skin hydrated without clogging the pores.

In addition to cleansing and moisturizing, incorporate exfoliation into your routine. Exfoliating helps remove dead skin cells, unclog pores, and prevent breakouts. Use a gentle exfoliant with ingredients like salicylic acid or glycolic acid, which can help reduce acne-causing bacteria and promote cell turnover.

Don’t forget to protect your skin from the sun. Choose a broad-spectrum sunscreen with an SPF of 30 or higher to shield your skin from harmful UV rays. Sun exposure can worsen acne and lead to post-inflammatory hyperpigmentation.

2. Use Topical Acne Treatments

Topical acne treatments are available over the counter or by prescription and can be effective in reducing pimples. Look for products containing ingredients like benzoyl peroxide, salicylic acid, or retinoids. These ingredients help unclog pores, reduce inflammation, and prevent new breakouts.

When using topical treatments, start with a low concentration to minimize skin irritation. Apply a thin layer to the affected areas once or twice a day, following the instructions on the product. Be patient, as it may take several weeks to see noticeable results.

3. Try Natural Remedies

If you prefer natural remedies, several options may help alleviate pimples. Tea tree oil, known for its antibacterial properties, can be applied topically to reduce inflammation and kill acne-causing bacteria. Aloe vera gel can soothe irritated skin and promote healing.

Another natural remedy is witch hazel, which acts as an astringent and can help reduce oil production. Apple cider vinegar, when diluted with water, can also be used as a toner to balance the skin’s pH and reduce acne-causing bacteria.

Remember, natural remedies may not work for everyone, and it’s essential to patch test before applying them to your entire face. If you experience any adverse reactions, discontinue use.

4. Make Dietary Changes

While diet alone may not be the sole cause of pimples, certain foods can trigger or worsen acne. Consider making dietary changes to support healthy skin. Reduce your intake of processed foods, sugary snacks, and beverages high in added sugars.

Incorporate foods rich in antioxidants, such as fruits, vegetables, and whole grains. These foods help fight inflammation and promote skin health. Additionally, consuming foods high in omega-3 fatty acids, like fatty fish and walnuts, may help reduce acne severity.

5. Manage Stress Levels

Stress can contribute to hormonal imbalances and trigger acne breakouts. Finding effective stress management techniques can help improve your skin’s condition. Engage in activities that help you relax and unwind, such as yoga, meditation, or spending time in nature.

Getting enough sleep is also crucial for maintaining healthy skin. Aim for 7-9 hours of quality sleep each night to allow your skin to repair and rejuvenate.

6. Avoid Picking or Squeezing Pimples

While it may be tempting to pop a pimple, doing so can lead to further inflammation, scarring, and infection. Avoid picking or squeezing pimples, as it can worsen the condition and delay the healing process.

If you have a particularly stubborn pimple, consider using a warm compress to help bring it to a head naturally. Once the pimple has come to a head, you can gently extract the contents using a sterile needle or visit a dermatologist for professional extraction.

7. Consult a Dermatologist

If your pimples persist despite trying various remedies, it may be beneficial to consult a dermatologist. A dermatologist can assess your skin condition, determine the underlying causes of your acne, and recommend appropriate treatments.

They may prescribe stronger topical medications, oral medications, or perform in-office procedures such as chemical peels or laser therapy. Remember to follow your dermatologist’s instructions and attend follow-up appointments for optimal results.

Conclusion

Getting rid of pimples requires a combination of consistent skincare, topical treatments, lifestyle changes, and, in some cases, professional guidance. Experiment with different methods to find what works best for your skin. Remember to be patient, as achieving clear and healthy skin takes time. With perseverance and the right approach, you can successfully combat pimples and regain your confidence.

6 Natural Ways to Lighten Facial Hair

Facial hair is a common concern for many individuals, particularly for those with darker hair and fair skin. While there are various methods available to remove or reduce facial hair, some people may prefer natural alternatives to chemical-based products or procedures. In this article, we will explore six natural ways to lighten facial hair, providing you with safe and effective options to address this concern.

1. Lemon Juice

Lemon juice is a popular natural remedy for lightening facial hair. Its high acidity content helps to bleach the hair and gradually reduce its visibility. To use lemon juice, simply squeeze the juice from a fresh lemon and apply it to the desired areas of your face. Leave it on for about 15-20 minutes before rinsing off with warm water. Repeat this process a few times a week for optimal results.

It’s important to note that lemon juice can cause skin irritation for some individuals, so it’s advisable to do a patch test before applying it to your entire face. Additionally, lemon juice may make your skin more sensitive to sunlight, so be sure to apply sunscreen if you plan to go outside after using this method.

2. Honey and Yogurt Mask

A honey and yogurt mask is not only a great natural remedy for lightening facial hair but also helps to moisturize and nourish the skin. Mix equal parts honey and plain yogurt to create a paste-like consistency. Apply the mask to your face, focusing on the areas with facial hair, and leave it on for 20-30 minutes. Rinse off with warm water and pat your face dry. For best results, use this mask twice a week.

Honey has natural bleaching properties, while yogurt helps to soothe and hydrate the skin. Together, they can gradually lighten the appearance of facial hair over time. This method is gentle on the skin and suitable for all skin types.

3. Papaya and Turmeric Paste

Papaya and turmeric are two natural ingredients known for their skin-lightening properties. To create a paste, mash a ripe papaya and mix it with a teaspoon of turmeric powder. Apply the paste to your face, focusing on the areas with facial hair, and leave it on for 20-30 minutes. Rinse off with lukewarm water and pat your face dry.

Both papaya and turmeric contain enzymes and compounds that can help lighten facial hair over time. Regular use of this paste can also improve the overall texture and tone of your skin.

4. Gram Flour and Milk Mask

A gram flour and milk mask is an age-old remedy for facial hair lightening. Gram flour, also known as chickpea flour, has exfoliating properties that can help remove dead skin cells and lighten the hair. Mix two tablespoons of gram flour with enough milk to form a paste. Apply the mask to your face, focusing on the areas with facial hair, and leave it on until it dries completely. Gently scrub off the mask using circular motions and rinse your face with warm water.

Regular use of this mask can help reduce the visibility of facial hair while leaving your skin feeling smooth and refreshed. It is important to note that this method may not be suitable for individuals with sensitive skin, as gram flour can be slightly abrasive.

5. Oatmeal Scrub

An oatmeal scrub is not only great for exfoliating the skin but can also help lighten facial hair. To create a scrub, mix two tablespoons of oatmeal with enough honey to form a thick paste. Apply the scrub to your face, gently massaging it in circular motions for a few minutes. Leave it on for an additional 10 minutes before rinsing off with warm water.

Oatmeal acts as a natural exfoliant, removing dead skin cells and impurities, while honey helps to lighten the facial hair. Regular use of this scrub can lead to a gradual reduction in the visibility of facial hair.

6. Egg White Mask

Egg whites have long been used for various beauty purposes, including lightening facial hair. To create an egg white mask, separate the yolk from an egg and whisk the egg white until it becomes frothy. Apply the egg white to your face, focusing on the areas with facial hair, and leave it on for 15-20 minutes. Rinse off with lukewarm water and pat your face dry.

Egg whites contain proteins that can help lighten the hair and improve the overall texture of the skin. Regular use of this mask can gradually reduce the visibility of facial hair.

While these natural remedies can help lighten facial hair, it’s important to remember that results may vary depending on individual factors such as hair color and skin type. Consistency and patience are key when using natural methods, as they may take longer to show noticeable results compared to chemical-based alternatives.

If you have any concerns or underlying skin conditions, it’s always advisable to consult with a dermatologist before trying any new remedies. Additionally, it’s important to maintain a proper skincare routine and protect your skin from excessive sun exposure to ensure overall skin health.

By incorporating these natural methods into your skincare routine, you can take a gentle and holistic approach to lighten facial hair and achieve a more even complexion.

A Complete Guide To Applying Lipstick The Right Way

Lipstick is a staple in every makeup lover’s collection. It has the power to transform your look and boost your confidence. However, applying lipstick is not as simple as swiping it on your lips. To achieve a flawless and long-lasting finish, you need to follow the right techniques and use the right products. In this comprehensive guide, we will take you through the step-by-step process of applying lipstick like a pro.

Choosing the Right Shade

Before you start applying lipstick, it’s important to choose a shade that complements your skin tone and matches the occasion. Here are a few tips to help you find the perfect shade:

1. Determine your undertone: Are you warm-toned, cool-toned, or neutral? This will help you narrow down the shades that will suit you best.

2. Consider the occasion: For a natural everyday look, opt for nude or MLBB (my lips but better) shades. For a bold statement, go for vibrant reds or deep berries.

3. Test before you buy: Always swatch the lipstick on your hand or wrist before purchasing. This will give you a better idea of how it will look on your lips.

4. Don’t be afraid to experiment: Lipstick is a fun way to play with different colors and finishes. Step out of your comfort zone and try something new!

Prepping Your Lips

Before applying lipstick, it’s essential to prepare your lips to ensure a smooth and even application. Follow these steps to achieve the perfect canvas:

1. Exfoliate: Use a lip scrub or a soft toothbrush to gently exfoliate your lips and remove any dead skin. This will create a smooth surface for the lipstick to adhere to.

2. Moisturize: Apply a lip balm or a hydrating lip mask to moisturize your lips. This will prevent your lipstick from drying out and enhance its longevity.

3. Prime: If you want your lipstick to last all day, consider using a lip primer. This will create a barrier between your lips and the lipstick, ensuring a longer wear time.

4. Conceal: For a more defined and precise lip look, lightly dab some concealer around your lips to create a clean canvas and prevent the color from bleeding.

Applying Lip Liner

Lip liner is a game-changer when it comes to achieving a professional-looking lip application. Follow these steps to master the art of lip liner:

1. Choose the right shade: Select a lip liner that matches your lipstick or is slightly darker. This will prevent any noticeable contrast between the liner and the lipstick.

2. Outline your lips: Start by outlining your natural lip shape. You can slightly overline your lips if you want to create the illusion of fuller lips.

3. Fill in your lips: After outlining, fill in your lips with the lip liner. This will create a base for your lipstick and enhance its longevity.

4. Blend: Use a lip brush or your finger to blend the lip liner into your lips. This will create a seamless transition between the liner and the lipstick.

Applying Lipstick

Now that your lips are prepped and lined, it’s time to apply the lipstick. Follow these steps for a flawless application:

1. Use a lip brush: For precise application, use a lip brush to apply the lipstick. This will give you more control and allow you to reach the corners of your lips.

2. Start from the center: Begin by applying the lipstick to the center of your upper lip. Follow the natural curve of your lips and work your way towards the corners.

3. Fill in the rest: Once you’ve applied the lipstick to your upper lip, repeat the same process for your lower lip. Make sure to coat the entire surface for an even finish.

4. Blot and reapply: For a long-lasting finish, blot your lips with a tissue and reapply another layer of lipstick. This will intensify the color and enhance its longevity.

Finishing Touches

To complete your lipstick application, consider these finishing touches:

1. Clean up any mistakes: Use a small concealer brush or a cotton swab dipped in makeup remover to clean up any smudges or mistakes around your lips.

2. Add a lip gloss: For a glossy finish, apply a clear or tinted lip gloss on top of your lipstick. This will give your lips a plump and luscious look.

3. Prevent transfer: To prevent your lipstick from transferring onto cups or clothes, lightly dust some translucent powder over your lips.

4. Carry touch-up products: Keep your lipstick, lip liner, and a small mirror in your bag for quick touch-ups throughout the day.

Removing Lipstick

At the end of the day, it’s important to properly remove your lipstick to maintain the health of your lips. Follow these steps:

1. Use a makeup remover: Apply a gentle makeup remover or micellar water on a cotton pad and gently swipe it over your lips to dissolve the lipstick.

2. Cleanse: Follow up with a lip cleanser or a mild face cleanser to remove any residue and keep your lips clean.

3. Moisturize: Finish off by applying a nourishing lip balm or lip mask to hydrate your lips overnight.

By following this complete guide to applying lipstick the right way, you’ll be able to achieve a flawless and long-lasting lip look every time. Experiment with different shades and finishes to find your signature lip style. Remember, practice makes perfect, so don’t be afraid to try out different techniques and have fun with your lipstick application!

17 Tips to Help You Preserve Your Colored Hair

Having colored hair can be a fun and exciting way to express your personal style. Whether you’ve gone for a bold, vibrant shade or a subtle pastel hue, it’s important to take proper care of your colored hair to keep it looking its best. In this article, we will share 17 tips to help you preserve your colored hair and maintain its vibrancy for longer.

1. Choose a Professional Colorist

When it comes to coloring your hair, it’s essential to choose a professional colorist who has experience working with different hair types and colors. A skilled colorist will be able to recommend the best shades and techniques for your hair, ensuring that the color lasts longer and looks stunning.

2. Opt for Quality Hair Products

Investing in high-quality hair products specifically designed for colored hair is crucial. Look for shampoos and conditioners that are sulfate-free and formulated to preserve color. These products will help prevent fading and keep your hair healthy.

3. Wash Your Hair Less Frequently

Washing your hair every day can strip away the color and natural oils, causing the color to fade faster. Try to wash your colored hair every 2-3 days to maintain its vibrancy. On non-wash days, use dry shampoo to refresh your hair and absorb excess oil.

4. Use Lukewarm Water

When washing your colored hair, avoid using hot water as it can open up the hair cuticles and cause the color to fade. Instead, opt for lukewarm water to help preserve the color and keep your hair looking vibrant.

5. Apply a Color-Protecting Conditioner

After shampooing, apply a color-protecting conditioner to your hair. This will help seal the cuticles, lock in the color, and provide hydration to keep your hair soft and shiny.

6. Avoid Heat Styling Tools

Excessive heat from styling tools like flat irons and curling wands can cause your colored hair to become dry and brittle. Minimize the use of heat styling tools or use them on the lowest heat setting to prevent damage and color fading.

7. Protect Your Hair from the Sun

UV rays from the sun can also fade the color of your hair. Protect your colored hair by wearing a hat or using hair products that contain UV filters. This will help shield your hair from the damaging effects of the sun.

8. Avoid Chlorine and Saltwater

Chlorine and saltwater can strip away the color from your hair. If you’re planning to swim, wet your hair with clean water before entering the pool or ocean. You can also wear a swim cap to protect your hair from direct contact with chlorine or saltwater.

9. Deep Condition Regularly

Colored hair tends to be drier and more prone to damage. Incorporate deep conditioning treatments into your hair care routine to provide extra nourishment and moisture. Look for deep conditioners specifically formulated for colored hair.

10. Minimize the Use of Styling Products

Using too many styling products can weigh down your colored hair and make it appear dull. Minimize the use of styling products and opt for lightweight formulas that won’t leave residue or build-up on your hair.

11. Avoid Over-Washing

Over-washing your colored hair can strip away the natural oils and cause the color to fade faster. Try to extend the time between washes and use dry shampoo or baby powder to absorb excess oil on non-wash days.

12. Get Regular Trims

Split ends can make your colored hair look frizzy and dull. Schedule regular trims every 6-8 weeks to get rid of split ends and keep your hair looking healthy and vibrant.

13. Use a Wide-Toothed Comb

When detangling your colored hair, use a wide-toothed comb instead of a brush. This will help prevent breakage and minimize damage to the hair cuticles, preserving the color for longer.

14. Avoid Hot Showers

Hot showers can strip away the color from your hair and make it appear dull. Opt for lukewarm water when showering to help maintain the vibrancy of your colored hair.

15. Protect Your Hair During Sleep

Friction from pillowcases can cause your colored hair to become tangled and frizzy. Sleep on a satin or silk pillowcase to minimize friction and protect your hair while you sleep.

16. Avoid Excessive Sun Exposure

Just like your skin, your colored hair can also be affected by prolonged sun exposure. Limit your time in direct sunlight or wear a hat to shield your hair from the damaging UV rays.

17. Be Gentle When Towel-Drying

Vigorously rubbing your hair with a towel can cause damage and lead to color fading. Instead, gently squeeze out the excess water and pat your hair dry with a soft towel to protect the color.

By following these 17 tips, you can help preserve the vibrancy of your colored hair and enjoy its beauty for longer. Remember to invest in quality hair products, avoid excessive heat styling, and protect your hair from the sun and harsh chemicals. With proper care, your colored hair will continue to turn heads and make a statement.

2 DIY Pimple Treatments for Oily Skin

Oily skin can be a challenge to manage, especially when it comes to dealing with pesky pimples. While there are numerous over-the-counter treatments available, some individuals prefer to take a more natural approach to skincare. In this article, we will explore two DIY pimple treatments specifically designed for oily skin. These treatments utilize common household ingredients that are not only effective but also gentle on the skin. So, let’s dive in and discover these simple yet powerful remedies!

1. Tea Tree Oil Spot Treatment

Tea tree oil has been used for centuries for its antimicrobial and anti-inflammatory properties. It is a popular choice for treating acne and reducing the appearance of pimples. Here’s how you can create your own tea tree oil spot treatment:

Ingredients:

  • 2-3 drops of tea tree oil
  • 1 tablespoon of aloe vera gel
  • 1 teaspoon of witch hazel

Instructions:

1. In a small bowl, mix the tea tree oil, aloe vera gel, and witch hazel until well combined.

2. Cleanse your face thoroughly and pat it dry.

3. Using a cotton swab, apply the mixture directly to the affected areas.

4. Leave it on for 10-15 minutes before rinsing it off with lukewarm water.

5. Apply a light moisturizer to hydrate the skin.

Repeat this treatment twice a day until the pimples subside. Tea tree oil may cause some tingling or mild irritation, so it’s important to do a patch test before applying it to your entire face.

2. Honey and Cinnamon Mask

Honey is known for its antibacterial properties, while cinnamon helps to improve blood circulation. Together, they make a potent combination for treating pimples and reducing inflammation. Here’s how you can create your own honey and cinnamon mask:

Ingredients:

  • 1 tablespoon of raw honey
  • 1/2 teaspoon of cinnamon powder

Instructions:

1. In a small bowl, mix the raw honey and cinnamon powder until well combined.

2. Cleanse your face thoroughly and pat it dry.

3. Using clean fingers or a brush, apply a thin layer of the mixture to your entire face or only to the affected areas.

4. Leave the mask on for 20-30 minutes.

5. Rinse it off with lukewarm water and gently pat your face dry.

6. Follow up with a lightweight moisturizer.

Use this mask once or twice a week to help control oil production and prevent future breakouts. If you have sensitive skin, it’s advisable to do a patch test before applying the mask to your face.

3. Other Natural Remedies for Oily Skin and Pimples

In addition to the two DIY treatments mentioned above, there are several other natural remedies that can help manage oily skin and reduce the appearance of pimples. Here are a few options:

A. Apple Cider Vinegar Toner

Apple cider vinegar is known for its astringent properties, which can help balance the skin’s pH levels and reduce oiliness. To create an apple cider vinegar toner:

1. Mix equal parts of raw, unfiltered apple cider vinegar and water.

2. Apply the mixture to your face using a cotton pad or a spray bottle.

3. Leave it on for 5-10 minutes before rinsing it off with water.

4. Follow up with a moisturizer.

Use this toner once or twice a day, depending on your skin’s tolerance.

B. Lemon Juice Exfoliating Scrub

Lemon juice contains citric acid, which can help exfoliate the skin and remove excess oil. To create a lemon juice exfoliating scrub:

1. Mix 1 tablespoon of lemon juice with 2 tablespoons of sugar.

2. Gently massage the mixture onto your face in circular motions.

3. Leave it on for 5-10 minutes before rinsing it off with water.

4. Apply a moisturizer.

Use this scrub once or twice a week, being cautious not to scrub too harshly as it may irritate the skin.

C. Green Tea Face Mist

Green tea is rich in antioxidants and can help reduce inflammation and control oil production. To create a green tea face mist:

1. Brew a cup of green tea and let it cool.

2. Pour the tea into a spray bottle.

3. Mist your face throughout the day to refresh and hydrate your skin.

You can store the face mist in the refrigerator for a cooling effect.

Conclusion

Dealing with pimples on oily skin can be frustrating, but with the right DIY treatments, you can effectively manage them. Tea tree oil spot treatment and honey and cinnamon mask are just two examples of natural remedies that can help reduce the appearance of pimples and control oiliness. Additionally, apple cider vinegar toner, lemon juice exfoliating scrub, and green tea face mist are other options to consider. Remember to always patch test new ingredients and consult with a dermatologist if you have any concerns or persistent skin issues. Embrace a natural approach to skincare and enjoy healthier, clearer skin!

10 Simple Tips to Take Care of Your Lips

Having soft and healthy lips not only enhances your appearance but also contributes to your overall well-being. However, with exposure to harsh weather conditions, dehydration, and lack of proper care, our lips can become dry, chapped, and uncomfortable. To help you maintain beautiful and nourished lips, we have compiled a list of 10 simple yet effective tips. By incorporating these practices into your daily routine, you can ensure that your lips stay soft, supple, and kissable.

1. Hydrate, Hydrate, Hydrate

One of the most important steps in lip care is to stay hydrated. Dehydration can lead to dryness and cracking of the lips. Make sure to drink an adequate amount of water throughout the day to keep your body and lips hydrated.

Additionally, you can use lip balms or moisturizers that contain hydrating ingredients like hyaluronic acid or shea butter. Apply these products regularly to lock in moisture and prevent dryness.

Remember, hydrated lips are happy lips!

2. Protect from the Sun

Just like your skin, your lips need protection from the harmful UV rays of the sun. Excessive sun exposure can lead to sunburn, premature aging, and even increase the risk of lip cancer.

When going outside, make sure to apply a lip balm with SPF (Sun Protection Factor) of at least 30. Reapply it every few hours, especially if you are spending extended periods in direct sunlight.

Don’t forget to wear a wide-brimmed hat or use an umbrella to provide additional shade for your lips.

3. Exfoliate Regularly

Exfoliating your lips helps remove dead skin cells and promotes the growth of new, healthy cells. This simple step can make a significant difference in the texture and appearance of your lips.

You can use a gentle lip scrub or make your own at home using natural ingredients like sugar and honey. Gently massage the scrub onto your lips in circular motions, then rinse off with warm water. Follow up with a lip balm to lock in moisture.

Remember not to over-exfoliate, as it can irritate your lips. Once or twice a week is usually sufficient.

4. Avoid Licking Your Lips

When your lips feel dry or chapped, it may be tempting to lick them for temporary relief. However, this habit can actually worsen the condition of your lips.

Saliva contains enzymes that can further dry out your lips, leading to more chapping and discomfort. Instead, reach for a moisturizing lip balm to soothe and hydrate your lips.

Breaking the habit of licking your lips may take some time, but it will ultimately benefit the health and appearance of your lips.

5. Stay Away from Harsh Products

Some lip products, such as matte lipsticks or long-lasting lip stains, can contain harsh chemicals that may strip the natural moisture from your lips.

Opt for lip products that are labeled as moisturizing or hydrating. Look for ingredients like vitamin E, jojoba oil, or coconut oil, which provide nourishment and protection for your lips.

Additionally, avoid using expired or old lip products, as they can harbor bacteria and cause irritation.

6. Maintain a Healthy Diet

What you eat can have a significant impact on the health of your lips. Include foods that are rich in vitamins and minerals, such as fruits, vegetables, and whole grains, in your diet.

Vitamin C, in particular, is essential for collagen production, which helps maintain the elasticity and plumpness of your lips. Citrus fruits, berries, and leafy greens are excellent sources of vitamin C.

Drinking green tea can also provide antioxidants that protect your lips from damage caused by free radicals.

7. Don’t Forget to Moisturize Overnight

While you sleep, your body goes into repair mode, and your lips are no exception. Take advantage of this time by applying a generous layer of lip balm or a nourishing lip mask before bed.

This overnight treatment will deeply moisturize your lips and help them recover from any dryness or damage they may have experienced during the day.

Wake up to soft, rejuvenated lips by making this a part of your nighttime routine.

8. Avoid Smoking

Smoking not only affects your overall health but also takes a toll on your lips. The heat and chemicals from cigarettes can cause discoloration, wrinkles, and dryness.

Quitting smoking is the best way to improve the health and appearance of your lips. Seek support from friends, family, or professionals to help you quit this harmful habit.

Your lips (and your entire body) will thank you!

9. Keep Your Lips Clean

Just like the rest of your face, your lips can accumulate dirt, bacteria, and dead skin cells throughout the day. It’s essential to keep them clean to prevent any potential infections or irritations.

Use a gentle cleanser or a soft cloth soaked in warm water to cleanse your lips. Avoid harsh scrubbing, as it can damage the delicate skin.

After cleansing, remember to apply a moisturizing lip balm to keep your lips hydrated and protected.

10. Be Mindful of Allergies

Some individuals may have allergies to certain lip care products or ingredients. If you experience any unusual reactions, such as redness, swelling, or itching, discontinue use immediately.

Consult with a dermatologist or allergist to identify the specific allergen and find suitable alternatives. Patch testing new products before applying them to your lips can help prevent allergic reactions.

By being mindful of potential allergies, you can avoid unnecessary discomfort and maintain healthy lips.

By following these 10 simple tips, you can ensure that your lips are well taken care of and always look their best. Remember, consistency is key, so make these practices a part of your daily routine. Your lips will thank you with their softness and radiance!

8 Universally Flattering Lipstick Shades

Lipstick is a powerful beauty tool that can instantly transform your look and boost your confidence. With so many shades and finishes available, it can sometimes be overwhelming to find the perfect lipstick that suits your skin tone and personal style. However, there are a few universally flattering lipstick shades that work well on everyone, regardless of their complexion or undertone. In this article, we will explore eight of these universally flattering lipstick shades and provide tips on how to wear them for different occasions.

Nude

The nude lipstick shade is a classic choice that complements all skin tones. It provides a natural and subtle enhancement to your lips, making them appear fuller and more defined. Nude lipsticks come in various undertones, such as pink, peach, or beige, allowing you to choose the shade that best suits your complexion. For fair skin, opt for a light pink nude, while medium to dark skin tones can go for a deeper peach or beige nude.

When wearing a nude lipstick, it’s essential to ensure that your lips are well-prepped and moisturized. Exfoliate your lips gently with a lip scrub and apply a hydrating lip balm before applying the lipstick. This will prevent the nude shade from emphasizing any dryness or flakiness on your lips.

Nude lipsticks are versatile and can be worn for both casual and formal occasions. Pair a nude lipstick with a smoky eye for an elegant evening look, or wear it alone for a fresh and natural everyday look.

Some popular nude lipstick shades include MAC Velvet Teddy, NARS Dolce Vita, and Maybelline Color Sensational in Nude Embrace.

Red

A red lipstick is a timeless classic that never goes out of style. It exudes confidence and adds a bold pop of color to any makeup look. The key to finding the perfect red lipstick is to choose a shade that complements your skin undertone. If you have cool undertones, opt for a blue-based red lipstick, while warm undertones look stunning with orange-based reds.

When wearing a red lipstick, it’s important to ensure that your lips are well-prepped and defined. Use a lip liner in a matching shade to outline your lips and prevent the lipstick from bleeding or feathering. Fill in your lips with the lip liner before applying the lipstick for long-lasting color.

Red lipsticks are perfect for special occasions or when you want to make a statement. Pair a red lipstick with a neutral eye makeup look to let your lips take center stage, or go for a retro-inspired winged eyeliner for a classic Hollywood glam look.

Some popular red lipstick shades include MAC Ruby Woo, NARS Dragon Girl, and Revlon Fire and Ice.

Pink

Pink lipstick shades are feminine, playful, and universally flattering. From soft pastels to vibrant fuchsias, there is a pink shade for every skin tone and personal preference. Lighter pink shades work well for fair skin tones, while deeper pinks and berry shades complement medium to dark skin tones.

When wearing a pink lipstick, it’s important to balance the rest of your makeup look. Opt for neutral or warm-toned eyeshadows and a subtle blush to avoid overpowering the pink shade on your lips. Pink lipsticks are perfect for both daytime and nighttime looks, and they add a fresh and youthful touch to any outfit.

Some popular pink lipstick shades include MAC Pink Nouveau, Maybelline Color Sensational in Fuchsia Fever, and NYX Soft Matte Lip Cream in Istanbul.

Berry

Berry lipstick shades are rich, bold, and perfect for adding a touch of drama to your makeup look. These shades range from deep plums to vibrant cranberries and suit a wide range of skin tones. Berry lipsticks are particularly flattering on medium to dark skin tones, as they create a striking contrast.

When wearing a berry lipstick, keep the rest of your makeup look relatively simple. Opt for neutral or bronze eyeshadows and a light blush to let your lips take center stage. Berry lipsticks are perfect for evening events or when you want to make a statement.

Some popular berry lipstick shades include MAC Rebel, NARS Audacious in Charlotte, and Maybelline Color Sensational in Midnight Merlot.

Coral

Coral lipstick shades are vibrant, summery, and perfect for adding a pop of color to your look. These shades range from soft peachy corals to bright tangerines and look beautiful on a variety of skin tones. Fair skin tones can opt for lighter coral shades, while deeper coral shades complement medium to dark skin tones.

When wearing a coral lipstick, keep the rest of your makeup look fresh and dewy. Opt for a bronzy or golden eyeshadow and a peachy blush to complement the coral shade on your lips. Coral lipsticks are perfect for spring and summer looks, and they instantly brighten up your complexion.

Some popular coral lipstick shades include MAC Lady Danger, NYX Soft Matte Lip Cream in Antwerp, and Revlon Super Lustrous in Coral Berry.

Mauve

Mauve lipstick shades are elegant, sophisticated, and perfect for everyday wear. These shades range from dusty roses to muted purples and flatter a wide range of skin tones. Mauve lipsticks are particularly flattering on medium to dark skin tones, as they create a beautiful contrast.

When wearing a mauve lipstick, opt for neutral or cool-toned eyeshadows and a subtle blush to create a harmonious makeup look. Mauve lipsticks are versatile and can be worn for both casual and formal occasions, making them a staple in any makeup collection.

Some popular mauve lipstick shades include MAC Twig, NYX Soft Matte Lip Cream in Stockholm, and Maybelline Color Sensational in Touch of Spice.

Coral

Coral lipstick shades are vibrant, summery, and perfect for adding a pop of color to your look. These shades range from soft peachy corals to bright tangerines and look beautiful on a variety of skin tones. Fair skin tones can opt for lighter coral shades, while deeper coral shades complement medium to dark skin tones.

When wearing a coral lipstick, keep the rest of your makeup look fresh and dewy. Opt for a bronzy or golden eyeshadow and a peachy blush to complement the coral shade on your lips. Coral lipsticks are perfect for spring and summer looks, and they instantly brighten up your complexion.

Some popular coral lipstick shades include MAC Lady Danger, NYX Soft Matte Lip Cream in Antwerp, and Revlon Super Lustrous in Coral Berry.

Brown

Brown lipstick shades have made a comeback in recent years and are now considered a trendy and edgy choice. These shades range from warm caramel browns to deep chocolate browns and suit a variety of skin tones. Fair skin tones can opt for lighter, more neutral browns, while deeper brown shades complement medium to dark skin tones.

When wearing a brown lipstick, keep the rest of your makeup look relatively neutral. Opt for earthy or bronze eyeshadows and a subtle contour to create a cohesive look. Brown lipsticks are perfect for creating a ’90s-inspired makeup look or for adding a touch of warmth to your everyday makeup routine.

Some popular brown lipstick shades include MAC Whirl, NYX Soft Matte Lip Cream in Abu Dhabi, and Maybelline Color Sensational in Toasted Truffle.

Conclusion

These eight universally flattering lipstick shades are a must-have in any makeup collection. From nude to red, pink to berry, coral to mauve, and brown, each shade offers a unique and versatile option that suits a variety of skin tones and occasions. Whether you’re looking for a natural everyday look or a bold statement lip, there is a universally flattering lipstick shade for everyone. Experiment with these shades, find your favorites, and embrace the power of a perfectly chosen lipstick to enhance your beauty and confidence.

How to Apply Eyeliner Perfectly: A Comprehensive Guide

Applying eyeliner can be a daunting task, especially for beginners. However, with a few simple techniques and the right tools, you can achieve a flawless eyeliner look that enhances your eyes and completes your makeup. In this comprehensive guide, we will walk you through the step-by-step process of applying eyeliner perfectly. Whether you prefer a subtle, natural look or a bold, dramatic style, these tips and tricks will help you achieve the desired effect.

Choosing the Right Eyeliner

Before diving into the application process, it’s important to choose the right eyeliner for your needs. There are several types of eyeliners available in the market, including pencil, liquid, gel, and pen. Each type has its own pros and cons, so consider your preferences and skill level when making a selection.

Pencil eyeliners are easy to use and great for beginners. They provide a softer, more natural look and are ideal for tightlining or smudging. Liquid eyeliners offer precision and are perfect for creating sharp, defined lines. Gel eyeliners are highly pigmented and long-lasting, making them suitable for creating bold, dramatic looks. Pen eyeliners combine the ease of use of a pencil with the precision of a liquid liner, making them versatile for various styles.

Once you have chosen the type of eyeliner, it’s time to move on to the application process.

Preparing Your Eyes

Before applying eyeliner, it’s important to prepare your eyes to ensure a smooth and long-lasting application. Start by cleansing your face and removing any traces of makeup or oil from your eyelids. This will help the eyeliner adhere better and prevent smudging.

Next, apply an eyeshadow primer or a small amount of foundation or concealer to your eyelids. This will create a smooth canvas for the eyeliner and help it stay in place throughout the day. Set the primer or foundation with a translucent powder to prevent creasing.

If you plan to wear eyeshadow, apply it before eyeliner to avoid any smudging or blending issues. Once your eyes are prepped and ready, it’s time to start applying the eyeliner.

Applying Eyeliner: Step-by-Step Guide

Step 1: Start with a Thin Line

Begin by creating a thin line along your upper lash line. This will serve as a guide for the rest of the eyeliner application. Use short, light strokes to ensure a smooth and even line. If you’re using a pencil eyeliner, you can gently smudge the line for a softer look.

For a more precise line, start from the inner corner of your eye and work your way towards the outer corner. Keep your hand steady and use small, controlled movements to avoid any mistakes or smudging.

Step 2: Winged Eyeliner

If you want to create a winged eyeliner look, extend the line slightly beyond the outer corner of your eye. Imagine a straight line extending from your lower lash line towards the end of your eyebrow, and use it as a guide for the wing. Connect the wing to the thin line you created earlier, and fill in any gaps or spaces.

For a subtle wing, keep it short and close to the lash line. For a more dramatic wing, extend it further and make it more angular. Experiment with different wing shapes to find the one that suits your eye shape and personal style.

Step 3: Tightlining

Tightlining is a technique where you apply eyeliner to the upper waterline, right at the base of your lashes. This creates the illusion of fuller lashes and adds definition to your eyes. Use a waterproof eyeliner pencil or a gel eyeliner with a fine brush for this step.

Gently lift your upper eyelid and, using short strokes, apply the eyeliner to the waterline. Start from the inner corner and work your way towards the outer corner. Be careful not to poke your eye or apply too much pressure, as the waterline is sensitive.

Step 4: Smudging and Blending

If you prefer a softer, smoky look, you can smudge and blend the eyeliner using a smudging brush or a cotton swab. This technique works well with pencil or gel eyeliners. Simply run the brush or swab along the eyeliner to soften the line and create a smudged effect.

For a more precise and defined look, skip this step and leave the eyeliner as it is. It all depends on the style you’re aiming for and the occasion.

Step 5: Lower Lash Line

To complete your eyeliner look, you can also apply eyeliner to your lower lash line. This step is optional and can be skipped if you prefer a more minimalistic look. Use a thin brush or a pencil eyeliner to create a thin line along the lower lash line. Connect it to the winged eyeliner on the upper lash line, if applicable.

For a more intense look, you can also smudge the lower lash line with a smudging brush or a cotton swab. This will create a smoky effect and add depth to your eyes.

Tips and Tricks for Perfect Eyeliner Application

1. Practice Makes Perfect

Don’t be discouraged if you don’t achieve the perfect eyeliner look on your first try. Like any skill, applying eyeliner takes practice. Experiment with different techniques, tools, and styles to find what works best for you. With time and patience, you’ll become more confident and skilled in applying eyeliner.

2. Use Tape or a Spoon for a Clean Line

If you struggle with creating a straight line or achieving a symmetrical look, you can use tape or a spoon as a guide. Place a piece of tape or the handle of a spoon along the outer corner of your eye, angled towards the end of your eyebrow. Use it as a stencil to create a clean, precise line.

3. Invest in Quality Brushes and Tools

The quality of your brushes and tools can significantly impact the outcome of your eyeliner application. Invest in a good eyeliner brush, smudging brush, and a fine-tip pencil eyeliner. These tools will make the process easier and help you achieve a more professional-looking result.

4. Clean Up Mistakes with a Concealer

If you make any mistakes or have uneven lines, don’t worry. You can easily fix them by using a small concealer brush and a creamy concealer. Dip the brush into the concealer and carefully trace along the edges of the eyeliner to clean up any smudges or mistakes. This will give your eyeliner a clean, polished look.

5. Experiment with Different Colors

While black eyeliner is a classic choice, don’t be afraid to experiment with different colors. Brown, navy, and gray eyeliners can create a softer, more natural look, while vibrant colors like purple or green can add a pop of fun and creativity to your makeup.

6. Set Your Eyeliner with Eyeshadow

To ensure your eyeliner lasts all day without smudging or fading, set it with a matching eyeshadow. Using a small brush, gently pat the eyeshadow over the eyeliner to set it in place. This will also soften any harsh lines and create a more blended, cohesive look.

7. Remove Eyeliner Properly

At the end of the day, it’s important to remove your eyeliner properly to avoid any irritation or damage to your lashes and delicate eye area. Use a gentle eye makeup remover or micellar water on a cotton pad to dissolve the eyeliner. Gently swipe the pad along your lash line until all the eyeliner is removed. Avoid rubbing or tugging, as this can cause lash breakage.

With these tips and techniques, you’ll be able to apply eyeliner perfectly and create a variety of stunning looks. Remember, practice, and experimentation are key to finding your unique eyeliner style. So, grab your favorite eyeliner and get ready to elevate your eye makeup game!

Exit mobile version