A Complete Guide To Applying Lipstick The Right Way

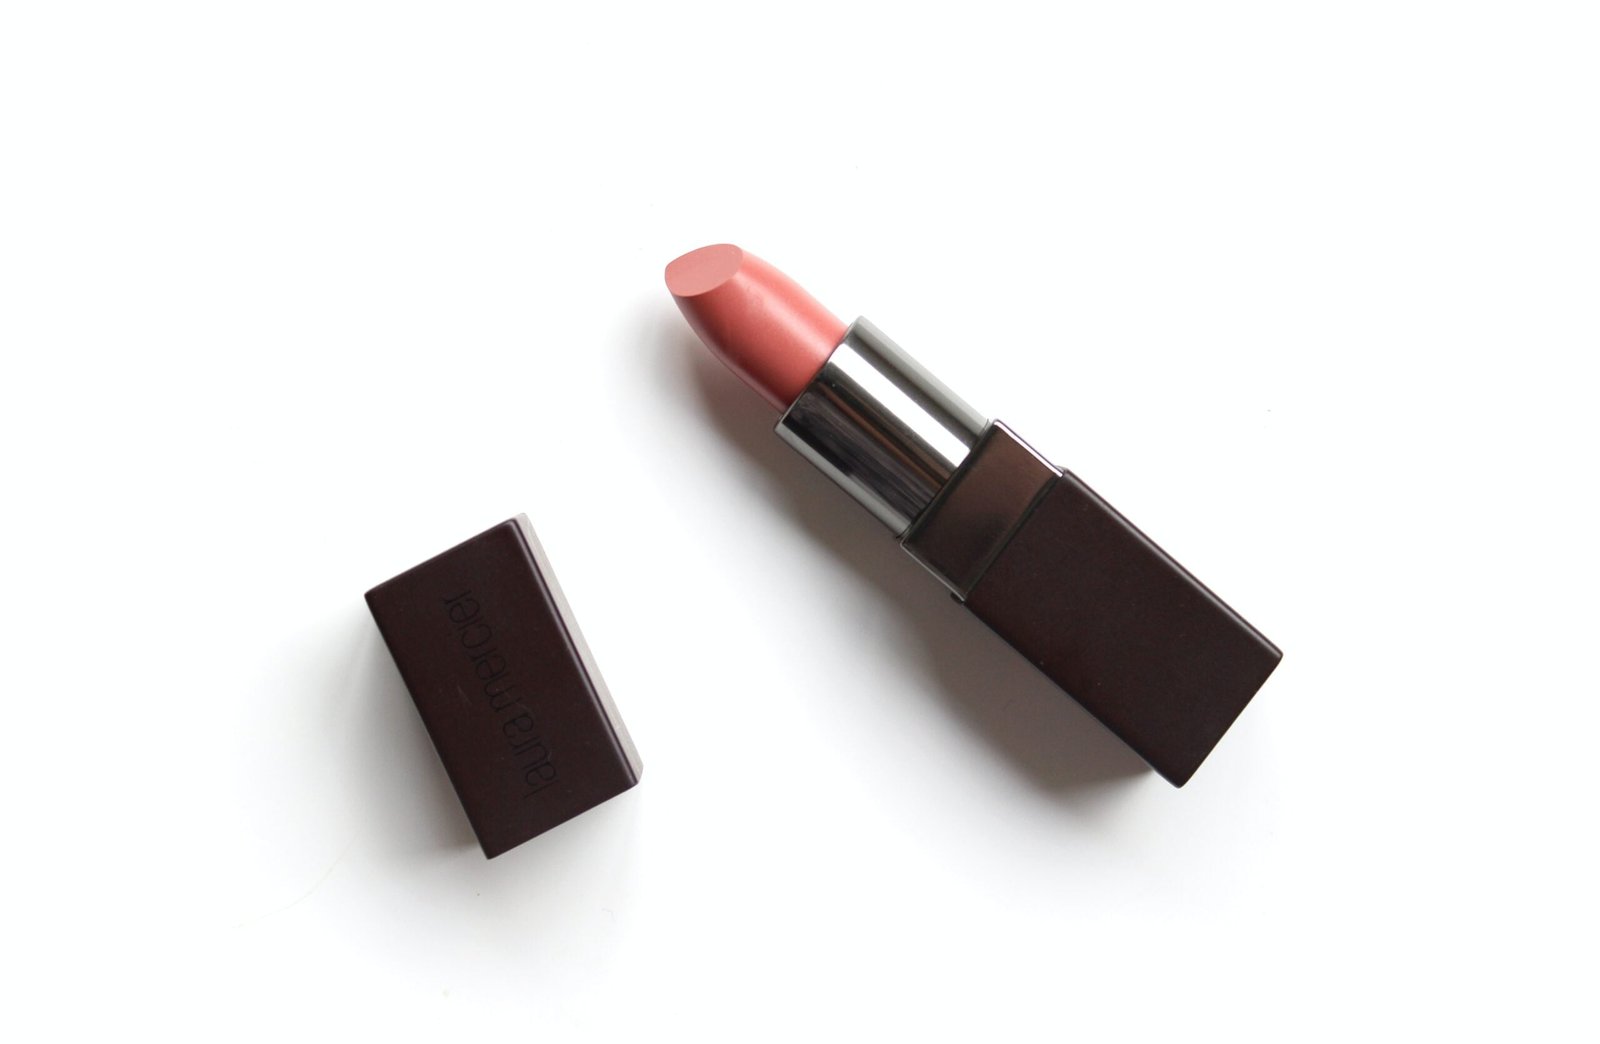
Lipstick is a staple in every makeup lover’s collection. It has the power to transform your look and boost your confidence. However, applying lipstick is not as simple as swiping it on your lips. To achieve a flawless and long-lasting finish, you need to follow the right techniques and use the right products. In this comprehensive guide, we will take you through the step-by-step process of applying lipstick like a pro.

Choosing the Right Shade

Before you start applying lipstick, it’s important to choose a shade that complements your skin tone and matches the occasion. Here are a few tips to help you find the perfect shade:

1. Determine your undertone: Are you warm-toned, cool-toned, or neutral? This will help you narrow down the shades that will suit you best.

2. Consider the occasion: For a natural everyday look, opt for nude or MLBB (my lips but better) shades. For a bold statement, go for vibrant reds or deep berries.

3. Test before you buy: Always swatch the lipstick on your hand or wrist before purchasing. This will give you a better idea of how it will look on your lips.

4. Don’t be afraid to experiment: Lipstick is a fun way to play with different colors and finishes. Step out of your comfort zone and try something new!

Prepping Your Lips

Before applying lipstick, it’s essential to prepare your lips to ensure a smooth and even application. Follow these steps to achieve the perfect canvas:

1. Exfoliate: Use a lip scrub or a soft toothbrush to gently exfoliate your lips and remove any dead skin. This will create a smooth surface for the lipstick to adhere to.

2. Moisturize: Apply a lip balm or a hydrating lip mask to moisturize your lips. This will prevent your lipstick from drying out and enhance its longevity.

3. Prime: If you want your lipstick to last all day, consider using a lip primer. This will create a barrier between your lips and the lipstick, ensuring a longer wear time.

4. Conceal: For a more defined and precise lip look, lightly dab some concealer around your lips to create a clean canvas and prevent the color from bleeding.
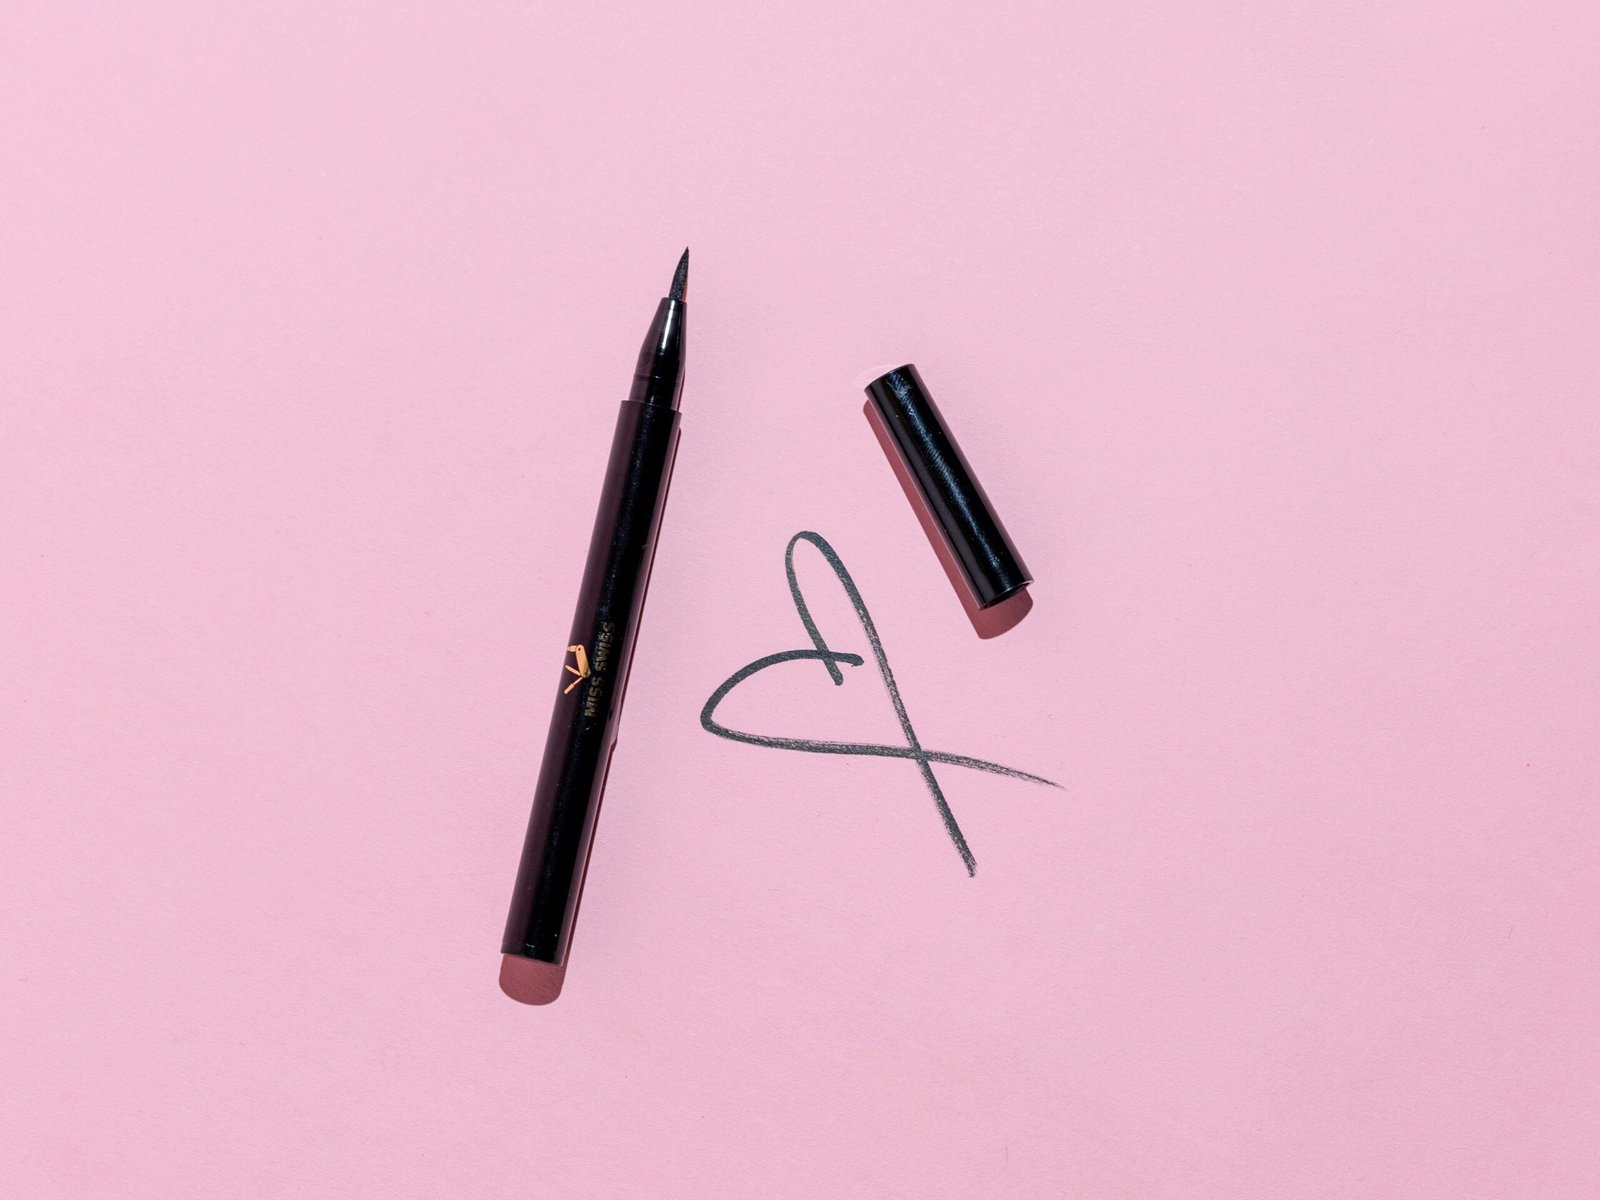
Applying Lip Liner

Lip liner is a game-changer when it comes to achieving a professional-looking lip application. Follow these steps to master the art of lip liner:

1. Choose the right shade: Select a lip liner that matches your lipstick or is slightly darker. This will prevent any noticeable contrast between the liner and the lipstick.

2. Outline your lips: Start by outlining your natural lip shape. You can slightly overline your lips if you want to create the illusion of fuller lips.

3. Fill in your lips: After outlining, fill in your lips with the lip liner. This will create a base for your lipstick and enhance its longevity.

4. Blend: Use a lip brush or your finger to blend the lip liner into your lips. This will create a seamless transition between the liner and the lipstick.

Applying Lipstick

Now that your lips are prepped and lined, it’s time to apply the lipstick. Follow these steps for a flawless application:

1. Use a lip brush: For precise application, use a lip brush to apply the lipstick. This will give you more control and allow you to reach the corners of your lips.

2. Start from the center: Begin by applying the lipstick to the center of your upper lip. Follow the natural curve of your lips and work your way towards the corners.

3. Fill in the rest: Once you’ve applied the lipstick to your upper lip, repeat the same process for your lower lip. Make sure to coat the entire surface for an even finish.

4. Blot and reapply: For a long-lasting finish, blot your lips with a tissue and reapply another layer of lipstick. This will intensify the color and enhance its longevity.

Finishing Touches

To complete your lipstick application, consider these finishing touches:

1. Clean up any mistakes: Use a small concealer brush or a cotton swab dipped in makeup remover to clean up any smudges or mistakes around your lips.

2. Add a lip gloss: For a glossy finish, apply a clear or tinted lip gloss on top of your lipstick. This will give your lips a plump and luscious look.

3. Prevent transfer: To prevent your lipstick from transferring onto cups or clothes, lightly dust some translucent powder over your lips.

4. Carry touch-up products: Keep your lipstick, lip liner, and a small mirror in your bag for quick touch-ups throughout the day.

Removing Lipstick

At the end of the day, it’s important to properly remove your lipstick to maintain the health of your lips. Follow these steps:

1. Use a makeup remover: Apply a gentle makeup remover or micellar water on a cotton pad and gently swipe it over your lips to dissolve the lipstick.

2. Cleanse: Follow up with a lip cleanser or a mild face cleanser to remove any residue and keep your lips clean.

3. Moisturize: Finish off by applying a nourishing lip balm or lip mask to hydrate your lips overnight.

By following this complete guide to applying lipstick the right way, you’ll be able to achieve a flawless and long-lasting lip look every time. Experiment with different shades and finishes to find your signature lip style. Remember, practice makes perfect, so don’t be afraid to try out different techniques and have fun with your lipstick application!

8 Universally Flattering Lipstick Shades

Lipstick is a powerful beauty tool that can instantly transform your look and boost your confidence. With so many shades and finishes available, it can sometimes be overwhelming to find the perfect lipstick that suits your skin tone and personal style. However, there are a few universally flattering lipstick shades that work well on everyone, regardless of their complexion or undertone. In this article, we will explore eight of these universally flattering lipstick shades and provide tips on how to wear them for different occasions.

Nude

The nude lipstick shade is a classic choice that complements all skin tones. It provides a natural and subtle enhancement to your lips, making them appear fuller and more defined. Nude lipsticks come in various undertones, such as pink, peach, or beige, allowing you to choose the shade that best suits your complexion. For fair skin, opt for a light pink nude, while medium to dark skin tones can go for a deeper peach or beige nude.

When wearing a nude lipstick, it’s essential to ensure that your lips are well-prepped and moisturized. Exfoliate your lips gently with a lip scrub and apply a hydrating lip balm before applying the lipstick. This will prevent the nude shade from emphasizing any dryness or flakiness on your lips.

Nude lipsticks are versatile and can be worn for both casual and formal occasions. Pair a nude lipstick with a smoky eye for an elegant evening look, or wear it alone for a fresh and natural everyday look.

Some popular nude lipstick shades include MAC Velvet Teddy, NARS Dolce Vita, and Maybelline Color Sensational in Nude Embrace.

Red

A red lipstick is a timeless classic that never goes out of style. It exudes confidence and adds a bold pop of color to any makeup look. The key to finding the perfect red lipstick is to choose a shade that complements your skin undertone. If you have cool undertones, opt for a blue-based red lipstick, while warm undertones look stunning with orange-based reds.

When wearing a red lipstick, it’s important to ensure that your lips are well-prepped and defined. Use a lip liner in a matching shade to outline your lips and prevent the lipstick from bleeding or feathering. Fill in your lips with the lip liner before applying the lipstick for long-lasting color.

Red lipsticks are perfect for special occasions or when you want to make a statement. Pair a red lipstick with a neutral eye makeup look to let your lips take center stage, or go for a retro-inspired winged eyeliner for a classic Hollywood glam look.

Some popular red lipstick shades include MAC Ruby Woo, NARS Dragon Girl, and Revlon Fire and Ice.

Pink

Pink lipstick shades are feminine, playful, and universally flattering. From soft pastels to vibrant fuchsias, there is a pink shade for every skin tone and personal preference. Lighter pink shades work well for fair skin tones, while deeper pinks and berry shades complement medium to dark skin tones.

When wearing a pink lipstick, it’s important to balance the rest of your makeup look. Opt for neutral or warm-toned eyeshadows and a subtle blush to avoid overpowering the pink shade on your lips. Pink lipsticks are perfect for both daytime and nighttime looks, and they add a fresh and youthful touch to any outfit.

Some popular pink lipstick shades include MAC Pink Nouveau, Maybelline Color Sensational in Fuchsia Fever, and NYX Soft Matte Lip Cream in Istanbul.

Berry

Berry lipstick shades are rich, bold, and perfect for adding a touch of drama to your makeup look. These shades range from deep plums to vibrant cranberries and suit a wide range of skin tones. Berry lipsticks are particularly flattering on medium to dark skin tones, as they create a striking contrast.

When wearing a berry lipstick, keep the rest of your makeup look relatively simple. Opt for neutral or bronze eyeshadows and a light blush to let your lips take center stage. Berry lipsticks are perfect for evening events or when you want to make a statement.

Some popular berry lipstick shades include MAC Rebel, NARS Audacious in Charlotte, and Maybelline Color Sensational in Midnight Merlot.

Coral

Coral lipstick shades are vibrant, summery, and perfect for adding a pop of color to your look. These shades range from soft peachy corals to bright tangerines and look beautiful on a variety of skin tones. Fair skin tones can opt for lighter coral shades, while deeper coral shades complement medium to dark skin tones.

When wearing a coral lipstick, keep the rest of your makeup look fresh and dewy. Opt for a bronzy or golden eyeshadow and a peachy blush to complement the coral shade on your lips. Coral lipsticks are perfect for spring and summer looks, and they instantly brighten up your complexion.

Some popular coral lipstick shades include MAC Lady Danger, NYX Soft Matte Lip Cream in Antwerp, and Revlon Super Lustrous in Coral Berry.

Mauve

Mauve lipstick shades are elegant, sophisticated, and perfect for everyday wear. These shades range from dusty roses to muted purples and flatter a wide range of skin tones. Mauve lipsticks are particularly flattering on medium to dark skin tones, as they create a beautiful contrast.

When wearing a mauve lipstick, opt for neutral or cool-toned eyeshadows and a subtle blush to create a harmonious makeup look. Mauve lipsticks are versatile and can be worn for both casual and formal occasions, making them a staple in any makeup collection.

Some popular mauve lipstick shades include MAC Twig, NYX Soft Matte Lip Cream in Stockholm, and Maybelline Color Sensational in Touch of Spice.

Coral

Coral lipstick shades are vibrant, summery, and perfect for adding a pop of color to your look. These shades range from soft peachy corals to bright tangerines and look beautiful on a variety of skin tones. Fair skin tones can opt for lighter coral shades, while deeper coral shades complement medium to dark skin tones.

When wearing a coral lipstick, keep the rest of your makeup look fresh and dewy. Opt for a bronzy or golden eyeshadow and a peachy blush to complement the coral shade on your lips. Coral lipsticks are perfect for spring and summer looks, and they instantly brighten up your complexion.

Some popular coral lipstick shades include MAC Lady Danger, NYX Soft Matte Lip Cream in Antwerp, and Revlon Super Lustrous in Coral Berry.

Brown

Brown lipstick shades have made a comeback in recent years and are now considered a trendy and edgy choice. These shades range from warm caramel browns to deep chocolate browns and suit a variety of skin tones. Fair skin tones can opt for lighter, more neutral browns, while deeper brown shades complement medium to dark skin tones.

When wearing a brown lipstick, keep the rest of your makeup look relatively neutral. Opt for earthy or bronze eyeshadows and a subtle contour to create a cohesive look. Brown lipsticks are perfect for creating a ’90s-inspired makeup look or for adding a touch of warmth to your everyday makeup routine.

Some popular brown lipstick shades include MAC Whirl, NYX Soft Matte Lip Cream in Abu Dhabi, and Maybelline Color Sensational in Toasted Truffle.

Conclusion

These eight universally flattering lipstick shades are a must-have in any makeup collection. From nude to red, pink to berry, coral to mauve, and brown, each shade offers a unique and versatile option that suits a variety of skin tones and occasions. Whether you’re looking for a natural everyday look or a bold statement lip, there is a universally flattering lipstick shade for everyone. Experiment with these shades, find your favorites, and embrace the power of a perfectly chosen lipstick to enhance your beauty and confidence.

How to Apply Eyeliner Perfectly: A Comprehensive Guide

Applying eyeliner can be a daunting task, especially for beginners. However, with a few simple techniques and the right tools, you can achieve a flawless eyeliner look that enhances your eyes and completes your makeup. In this comprehensive guide, we will walk you through the step-by-step process of applying eyeliner perfectly. Whether you prefer a subtle, natural look or a bold, dramatic style, these tips and tricks will help you achieve the desired effect.

Choosing the Right Eyeliner

Before diving into the application process, it’s important to choose the right eyeliner for your needs. There are several types of eyeliners available in the market, including pencil, liquid, gel, and pen. Each type has its own pros and cons, so consider your preferences and skill level when making a selection.

Pencil eyeliners are easy to use and great for beginners. They provide a softer, more natural look and are ideal for tightlining or smudging. Liquid eyeliners offer precision and are perfect for creating sharp, defined lines. Gel eyeliners are highly pigmented and long-lasting, making them suitable for creating bold, dramatic looks. Pen eyeliners combine the ease of use of a pencil with the precision of a liquid liner, making them versatile for various styles.

Once you have chosen the type of eyeliner, it’s time to move on to the application process.

Preparing Your Eyes

Before applying eyeliner, it’s important to prepare your eyes to ensure a smooth and long-lasting application. Start by cleansing your face and removing any traces of makeup or oil from your eyelids. This will help the eyeliner adhere better and prevent smudging.

Next, apply an eyeshadow primer or a small amount of foundation or concealer to your eyelids. This will create a smooth canvas for the eyeliner and help it stay in place throughout the day. Set the primer or foundation with a translucent powder to prevent creasing.

If you plan to wear eyeshadow, apply it before eyeliner to avoid any smudging or blending issues. Once your eyes are prepped and ready, it’s time to start applying the eyeliner.

Applying Eyeliner: Step-by-Step Guide

Step 1: Start with a Thin Line

Begin by creating a thin line along your upper lash line. This will serve as a guide for the rest of the eyeliner application. Use short, light strokes to ensure a smooth and even line. If you’re using a pencil eyeliner, you can gently smudge the line for a softer look.

For a more precise line, start from the inner corner of your eye and work your way towards the outer corner. Keep your hand steady and use small, controlled movements to avoid any mistakes or smudging.

Step 2: Winged Eyeliner

If you want to create a winged eyeliner look, extend the line slightly beyond the outer corner of your eye. Imagine a straight line extending from your lower lash line towards the end of your eyebrow, and use it as a guide for the wing. Connect the wing to the thin line you created earlier, and fill in any gaps or spaces.

For a subtle wing, keep it short and close to the lash line. For a more dramatic wing, extend it further and make it more angular. Experiment with different wing shapes to find the one that suits your eye shape and personal style.

Step 3: Tightlining

Tightlining is a technique where you apply eyeliner to the upper waterline, right at the base of your lashes. This creates the illusion of fuller lashes and adds definition to your eyes. Use a waterproof eyeliner pencil or a gel eyeliner with a fine brush for this step.

Gently lift your upper eyelid and, using short strokes, apply the eyeliner to the waterline. Start from the inner corner and work your way towards the outer corner. Be careful not to poke your eye or apply too much pressure, as the waterline is sensitive.

Step 4: Smudging and Blending

If you prefer a softer, smoky look, you can smudge and blend the eyeliner using a smudging brush or a cotton swab. This technique works well with pencil or gel eyeliners. Simply run the brush or swab along the eyeliner to soften the line and create a smudged effect.

For a more precise and defined look, skip this step and leave the eyeliner as it is. It all depends on the style you’re aiming for and the occasion.

Step 5: Lower Lash Line

To complete your eyeliner look, you can also apply eyeliner to your lower lash line. This step is optional and can be skipped if you prefer a more minimalistic look. Use a thin brush or a pencil eyeliner to create a thin line along the lower lash line. Connect it to the winged eyeliner on the upper lash line, if applicable.

For a more intense look, you can also smudge the lower lash line with a smudging brush or a cotton swab. This will create a smoky effect and add depth to your eyes.

Tips and Tricks for Perfect Eyeliner Application

1. Practice Makes Perfect

Don’t be discouraged if you don’t achieve the perfect eyeliner look on your first try. Like any skill, applying eyeliner takes practice. Experiment with different techniques, tools, and styles to find what works best for you. With time and patience, you’ll become more confident and skilled in applying eyeliner.

2. Use Tape or a Spoon for a Clean Line

If you struggle with creating a straight line or achieving a symmetrical look, you can use tape or a spoon as a guide. Place a piece of tape or the handle of a spoon along the outer corner of your eye, angled towards the end of your eyebrow. Use it as a stencil to create a clean, precise line.

3. Invest in Quality Brushes and Tools

The quality of your brushes and tools can significantly impact the outcome of your eyeliner application. Invest in a good eyeliner brush, smudging brush, and a fine-tip pencil eyeliner. These tools will make the process easier and help you achieve a more professional-looking result.

4. Clean Up Mistakes with a Concealer

If you make any mistakes or have uneven lines, don’t worry. You can easily fix them by using a small concealer brush and a creamy concealer. Dip the brush into the concealer and carefully trace along the edges of the eyeliner to clean up any smudges or mistakes. This will give your eyeliner a clean, polished look.

5. Experiment with Different Colors

While black eyeliner is a classic choice, don’t be afraid to experiment with different colors. Brown, navy, and gray eyeliners can create a softer, more natural look, while vibrant colors like purple or green can add a pop of fun and creativity to your makeup.

6. Set Your Eyeliner with Eyeshadow

To ensure your eyeliner lasts all day without smudging or fading, set it with a matching eyeshadow. Using a small brush, gently pat the eyeshadow over the eyeliner to set it in place. This will also soften any harsh lines and create a more blended, cohesive look.

7. Remove Eyeliner Properly

At the end of the day, it’s important to remove your eyeliner properly to avoid any irritation or damage to your lashes and delicate eye area. Use a gentle eye makeup remover or micellar water on a cotton pad to dissolve the eyeliner. Gently swipe the pad along your lash line until all the eyeliner is removed. Avoid rubbing or tugging, as this can cause lash breakage.

With these tips and techniques, you’ll be able to apply eyeliner perfectly and create a variety of stunning looks. Remember, practice, and experimentation are key to finding your unique eyeliner style. So, grab your favorite eyeliner and get ready to elevate your eye makeup game!

Look Good Every Day: Your Glamour Routine Decoded

Looking good every day doesn’t have to be a daunting task. With a well-planned glamour routine, you can effortlessly enhance your appearance and boost your confidence. In this article, we will decode the steps to help you achieve a flawless look every day.

Skincare

Your skincare routine forms the foundation for a radiant complexion. Start by cleansing your face with a gentle cleanser to remove impurities. Follow it up with a toner to balance the pH levels of your skin. Next, apply a moisturizer suitable for your skin type to keep it hydrated throughout the day. Don’t forget to incorporate sunscreen into your routine to protect your skin from harmful UV rays.

Additionally, consider adding serums and face masks to address specific skin concerns. Serums can target issues like fine lines, dark spots, or acne, while face masks can provide deep hydration or exfoliation.

Remember to exfoliate your skin regularly to remove dead skin cells and promote cell turnover. This will leave your skin looking fresh and rejuvenated.

Makeup

Once your skincare routine is complete, it’s time to move on to makeup. Start with a primer to create a smooth canvas for your foundation. Choose a foundation that matches your skin tone and apply it evenly using a brush or sponge. Conceal any blemishes or dark circles with a concealer.

Enhance your features with blush, bronzer, and highlighter. Apply blush to the apples of your cheeks, bronzer to the hollows of your cheeks, and highlighter to the high points of your face to create dimension.

Don’t forget to define your eyes with eyeshadow, eyeliner, and mascara. Choose colors that complement your eye color and apply them according to your desired look. Finish off with a coat or two of mascara to make your lashes pop.

Haircare

Your hair is an essential part of your overall appearance. Keep it healthy and shiny by using a shampoo and conditioner suitable for your hair type. Consider incorporating hair masks or oils into your routine for added nourishment.

Experiment with different hairstyles to switch up your look. From sleek ponytails to loose waves, find styles that suit your face shape and personal style.

Nails

Well-groomed nails can instantly elevate your look. Keep your nails clean and trimmed regularly. Experiment with different nail colors and designs to express your creativity.

Accessories

Accessorizing is the final touch to complete your glamour routine. Choose accessories that complement your outfit and enhance your overall look. From statement necklaces to elegant earrings, find pieces that reflect your personal style.

Conclusion

By following a well-planned glamour routine, you can look good every day with minimal effort. Remember to prioritize skincare, enhance your features with makeup, take care of your hair and nails, and accessorize to complete your look. With these steps, you’ll be ready to face the day with confidence and style.

Winter Latina Outfits: Embrace the Season in Style

Winter is here, and it’s time to revamp your wardrobe with some fabulous Latina-inspired outfits. Whether you’re heading to a holiday party, a cozy night in, or just braving the chilly weather, there are plenty of stylish options to choose from. From vibrant colors to cozy knits, here’s a guide to help you rock the winter season in true Latina fashion.

When it comes to winter fashion, layering is key. Start with a basic long-sleeved top in a neutral color, such as black or white. Then, add a pop of color with a bold cardigan or a patterned poncho. Look for traditional Latin American prints, like Aztec or floral designs, to add a touch of cultural flair to your outfit.

Don’t be afraid to mix and match different textures to create a unique and eye-catching look. Pair a chunky knit sweater with a flowy skirt or a pair of jeans. Add some knee-high boots or ankle booties to complete the ensemble. The contrast between the cozy sweater and the sleek boots will give your outfit a modern twist.

For those extra chilly days, opt for a stylish coat that will keep you warm and fashionable. A tailored wool coat in a bold color, such as red or royal blue, will make a statement wherever you go. If you prefer a more casual look, a faux fur coat or a puffer jacket will do the trick.

Accessories are an essential part of any outfit, and winter is no exception. Choose accessories that reflect your Latina heritage, such as statement earrings or a colorful scarf. Don’t forget to add a touch of sparkle with some metallic jewelry or a sequined clutch.

When it comes to makeup, embrace the winter season with a bold lip color. Reds, deep purples, and berry tones are perfect for adding a touch of glamour to your look. Pair it with a natural, glowing complexion and a subtle smoky eye for a stunning winter makeup look.

Finally, let’s talk about hair. Winter can be harsh on your locks, so it’s important to keep them hydrated and protected. Opt for hairstyles that are both stylish and practical, such as a sleek low ponytail or a chic top knot. If you’re feeling adventurous, try adding some braids or twists to your hair for a unique and trendy look.

In conclusion, winter is the perfect time to showcase your Latina style and embrace the season in fashion-forward outfits. From vibrant colors to cozy knits, there are endless possibilities to create stunning winter looks. Remember to layer your clothing, mix and match textures, and add accessories that reflect your heritage. With these tips, you’ll be turning heads and staying warm all winter long.

#1

#2

#3

#4

#5

#6

#7

#8

#9

#10

Exit mobile version